
Refreshing a Dated Kitchen Without Ripping It Out
A tired kitchen is one of the first things people notice in an auction property, and one of the most expensive things to put right if you assume it needs ripping out. Often it doesn’t. This is a diary of refreshing our own kitchen and utility room across about six months of evenings and weekends, keeping the carcasses and the worktops and changing everything else.
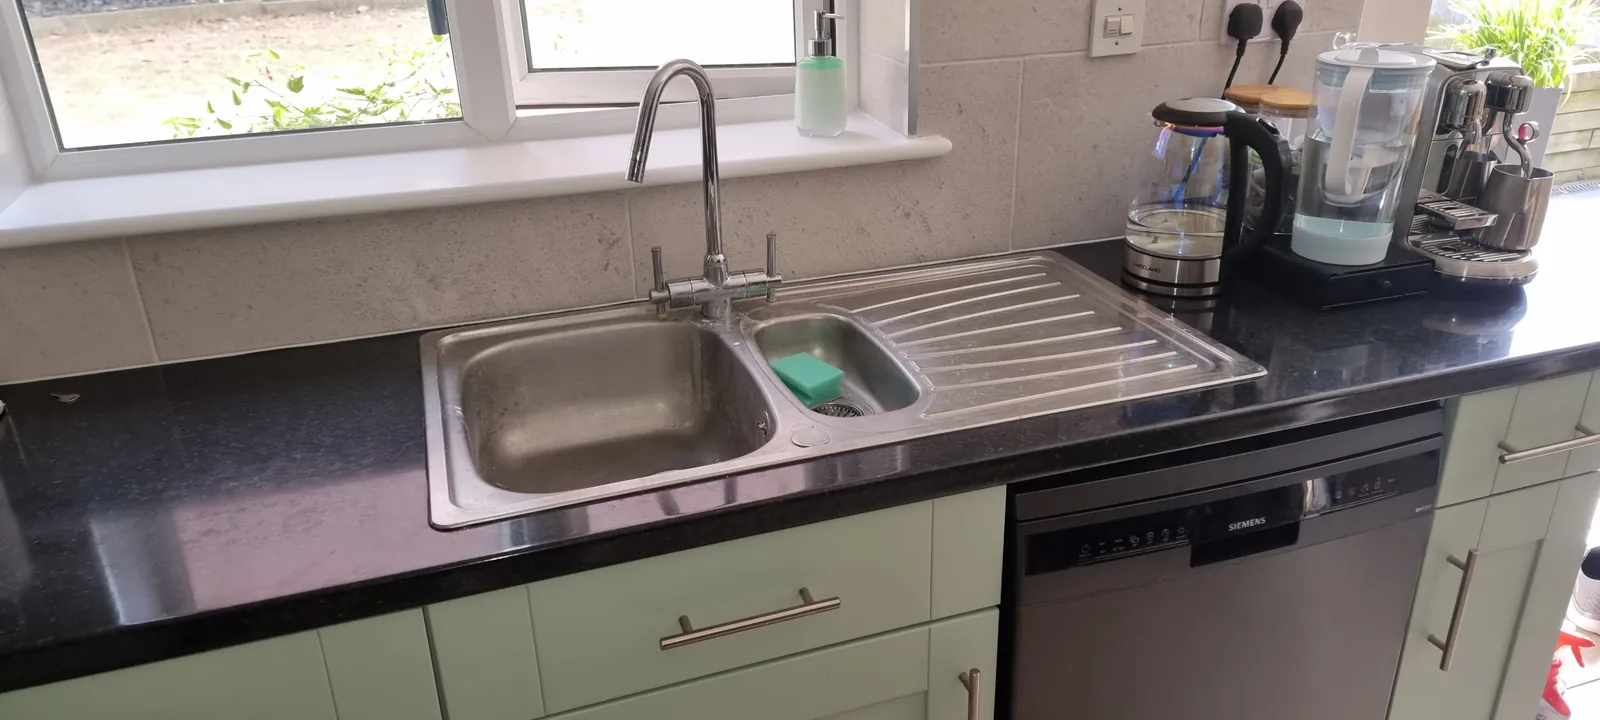
What dated the rooms was the finish, not the fittings. Grey doors, small yellow wall tiles with a row of black tiles through the middle, and stainless steel sinks. The units themselves were sound and the black worktops were in good condition. So the plan was to repaint the doors, strip the old tiles off and retile, and swap the sinks and taps.
Start with the small room
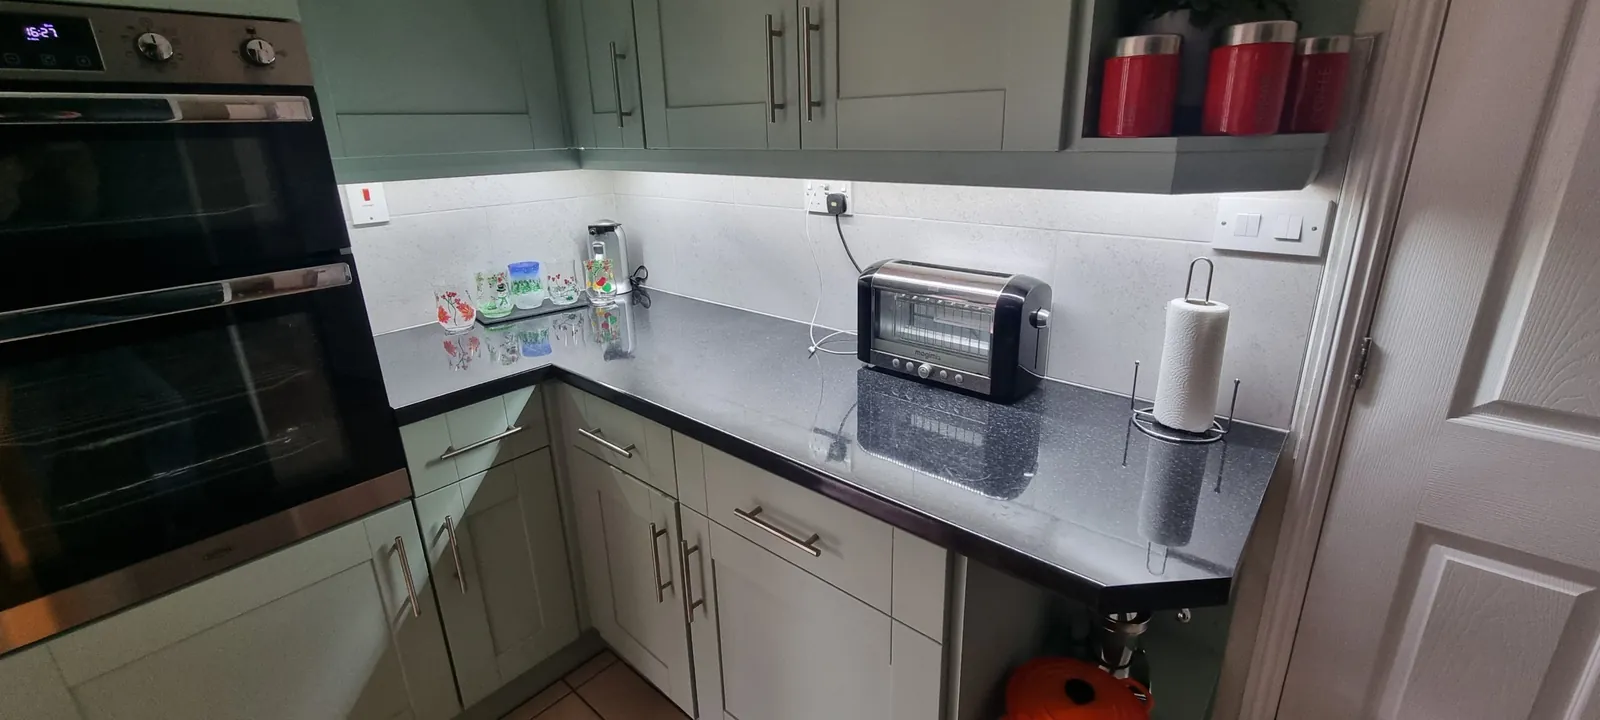
We did the utility room first. It is much smaller than the kitchen, which makes it the right place to find out whether the approach works at all, how long each stage actually takes, and which bits are harder than they look. Everything learnt in the utility got reused in the kitchen.
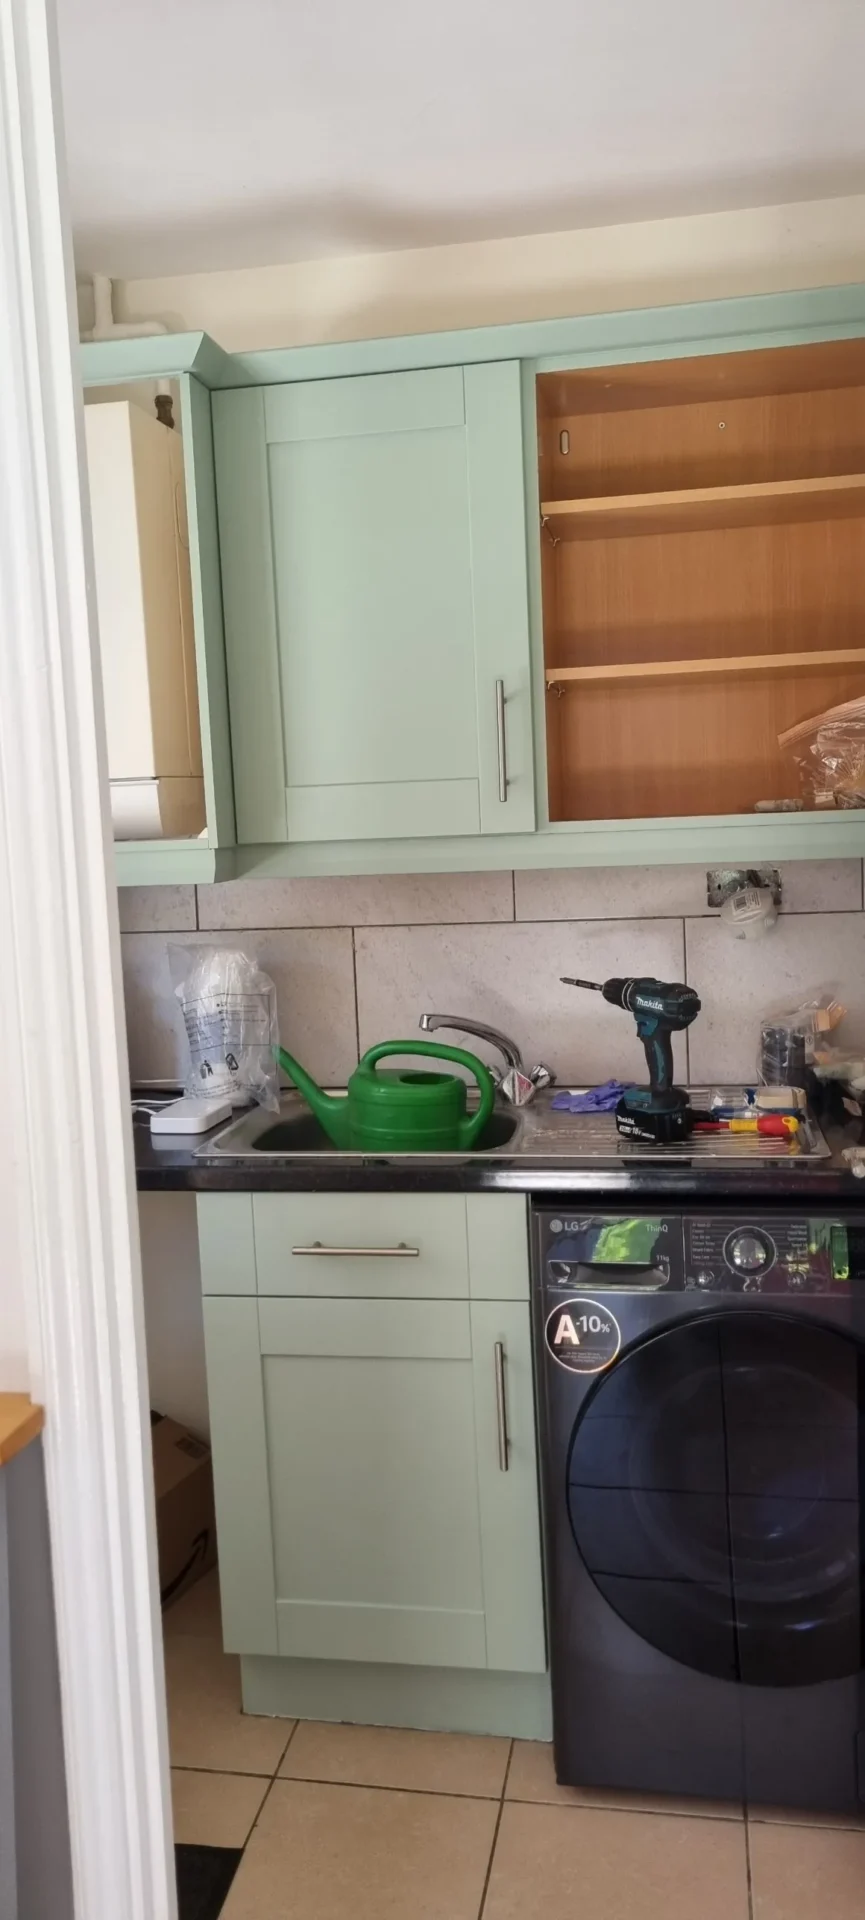
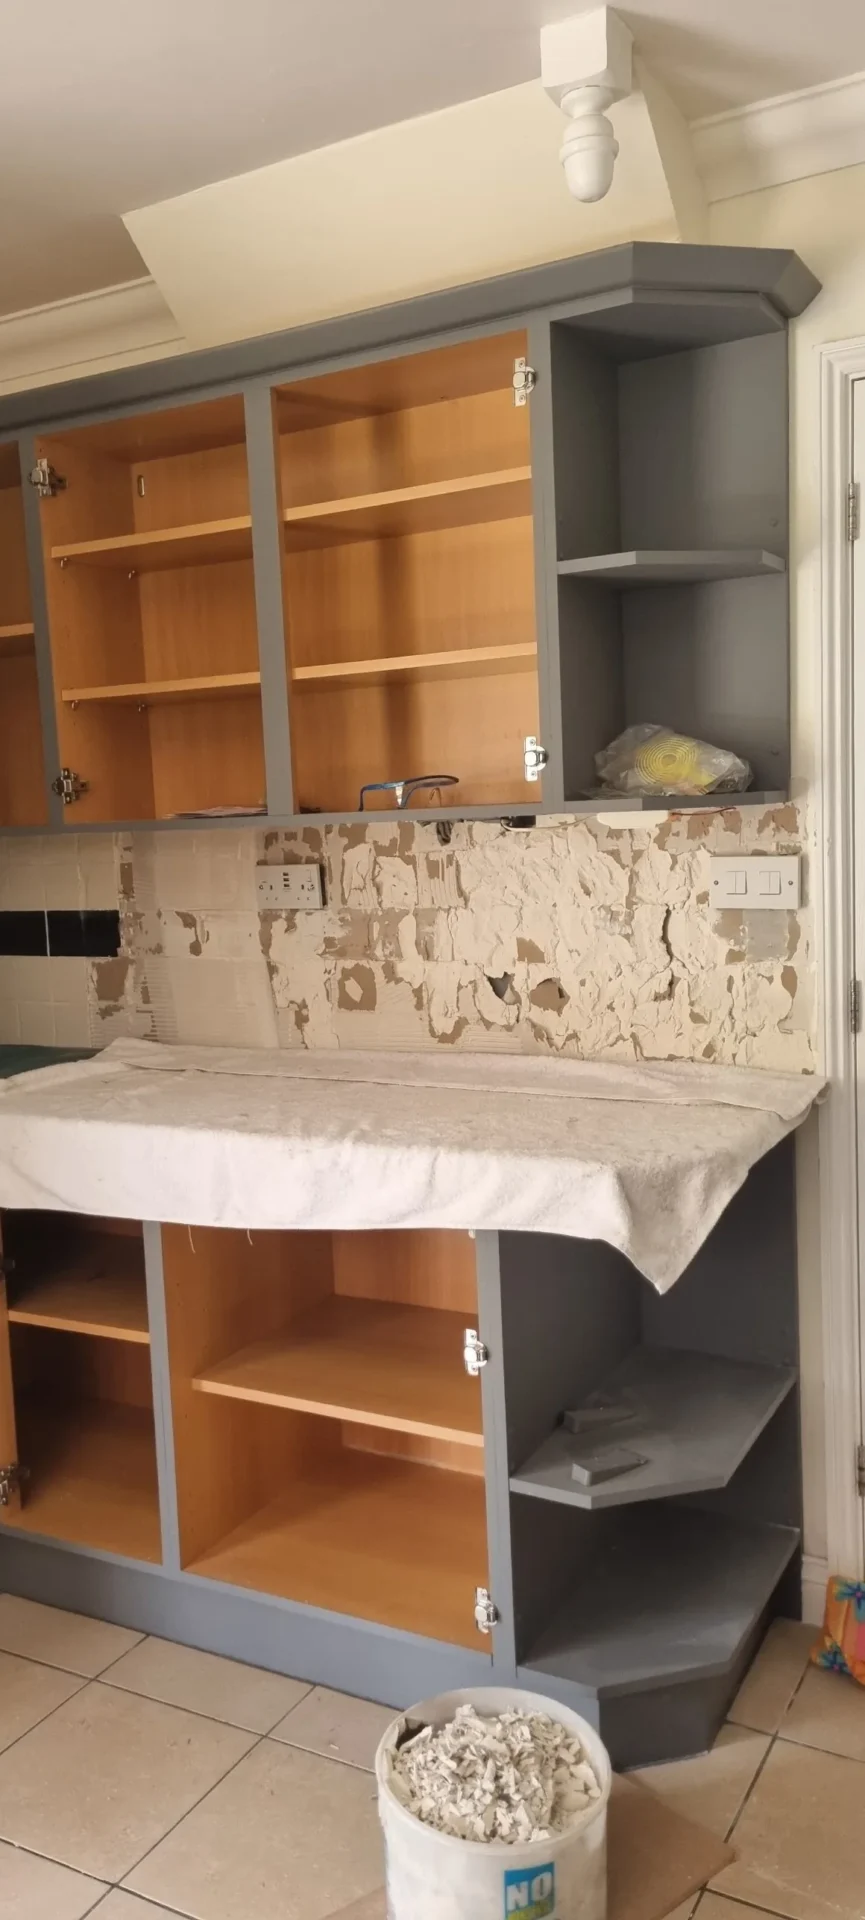
The first jobs were the dull ones. Clear out all the cupboards. Take all the doors off the carcasses and remove the pelmets. Cover the worktops to protect them. Keep the internal doors shut and the external windows open, because the next stage makes a remarkable amount of dust. Then put the PPE on.

Getting the old tiles off
There are two ways to do this and it is worth deciding deliberately rather than just starting.
- Cut the plasterboard out with the tiles still attached to it, and board the area out again.
- Knock the tiles off with a tile removing chisel, a bolster, a claw hammer and whatever else comes to hand.
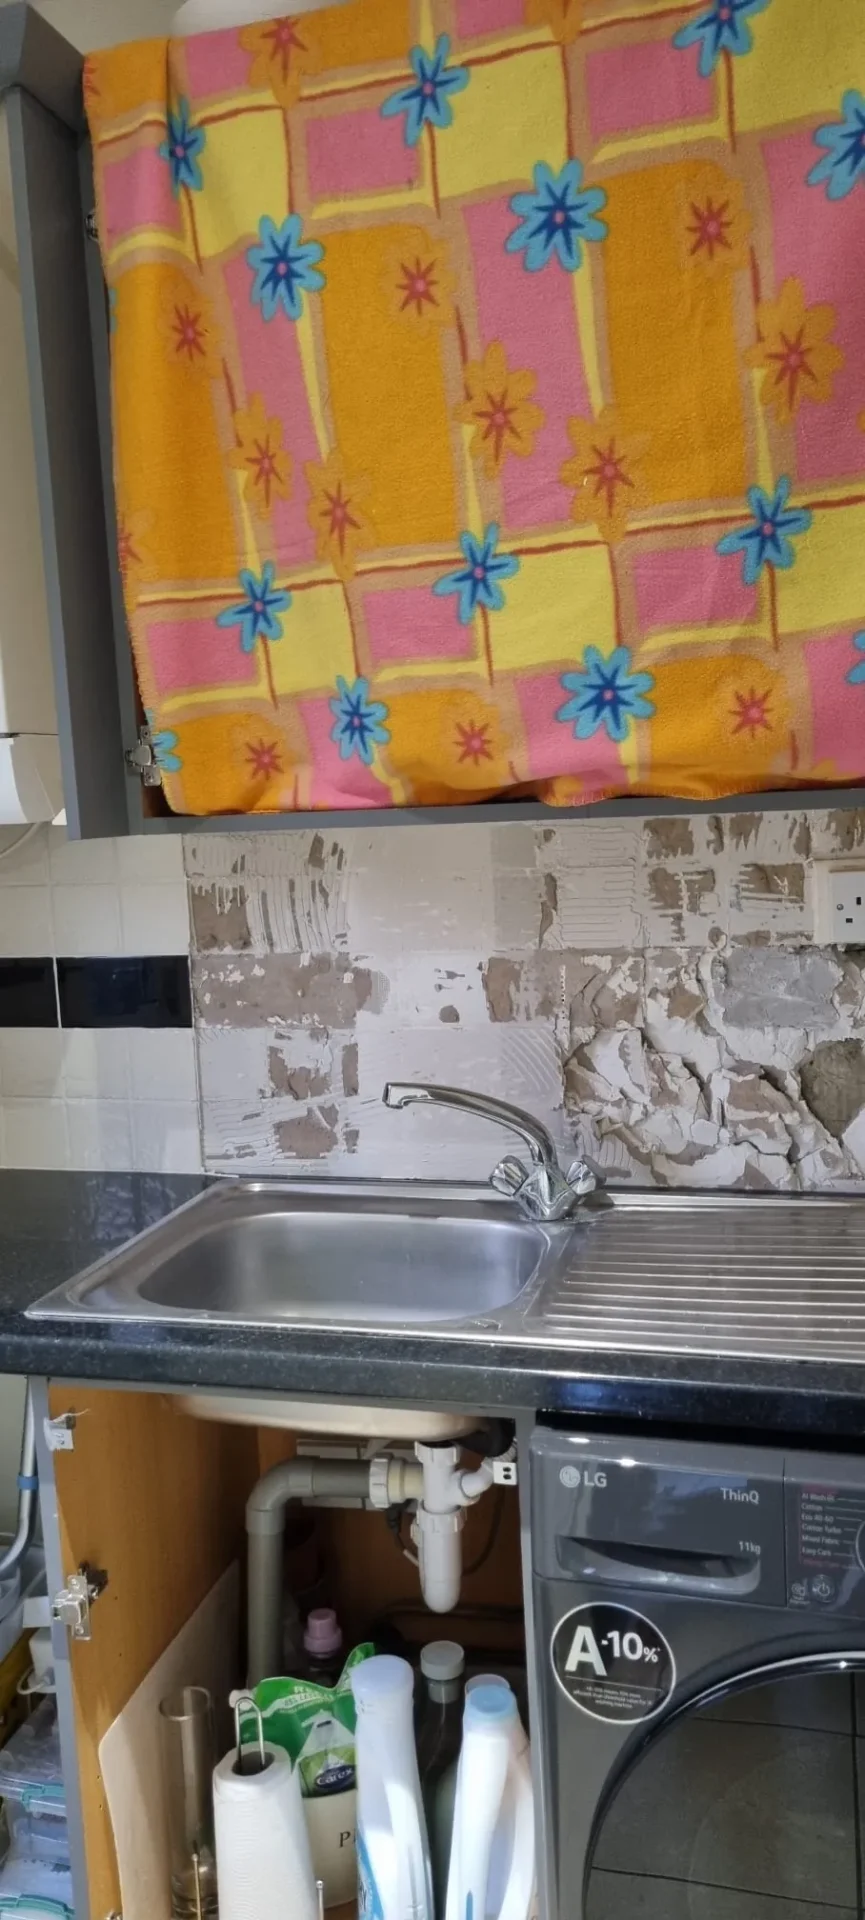
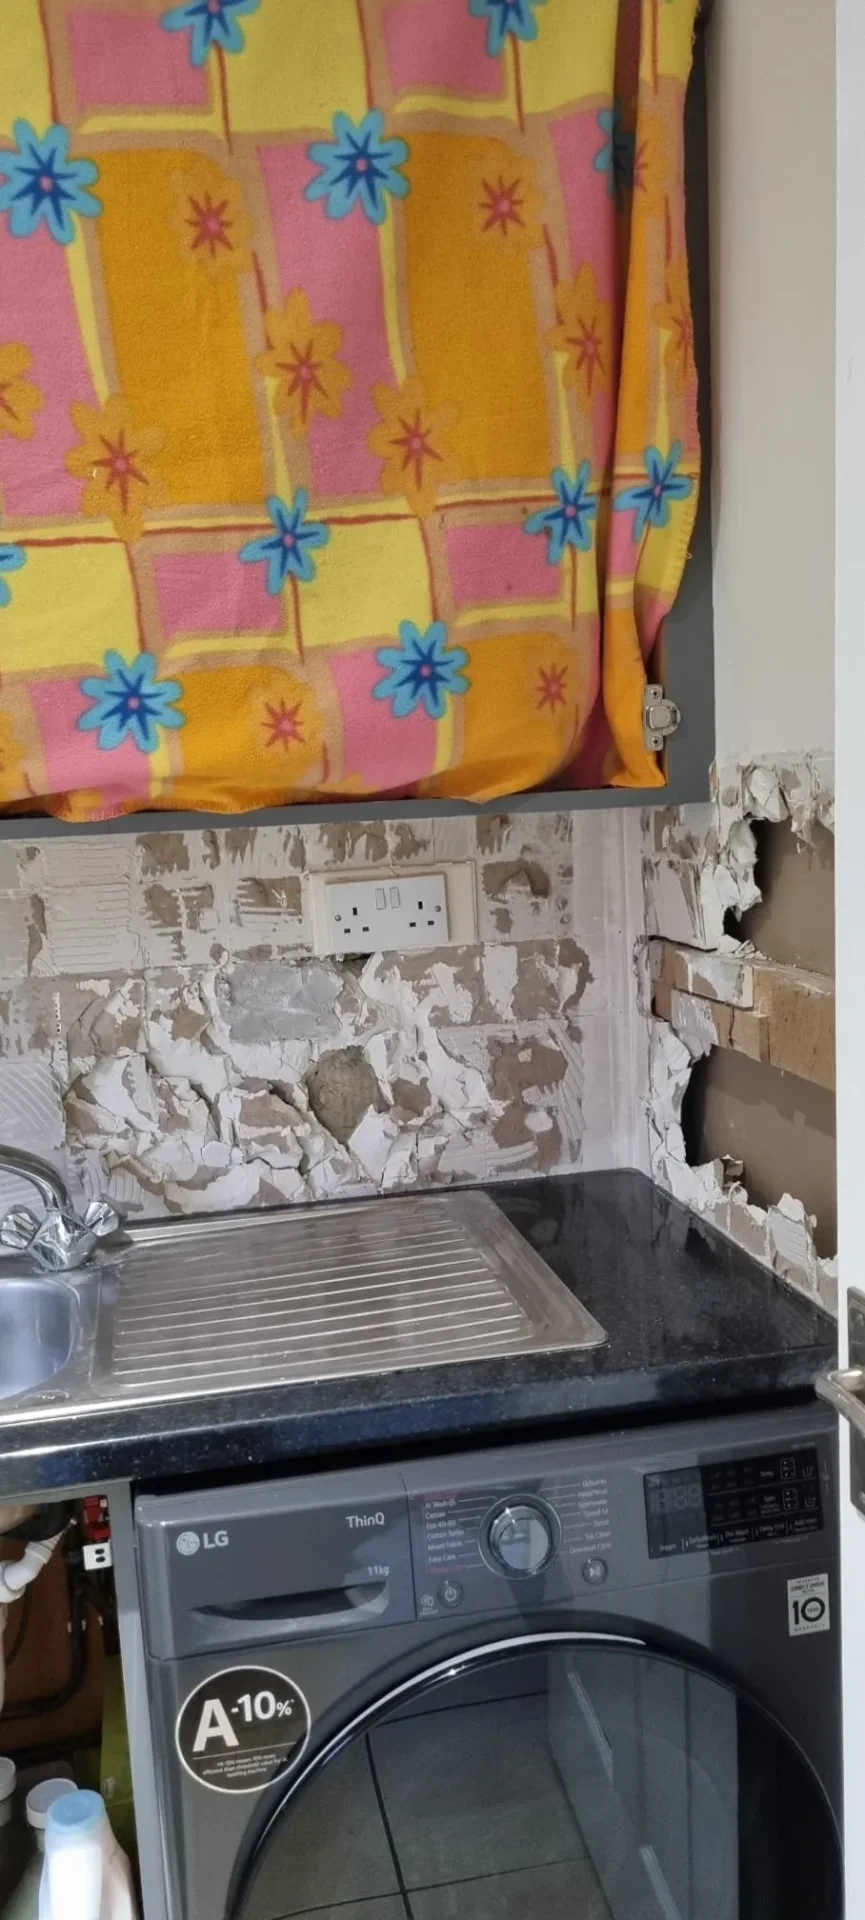
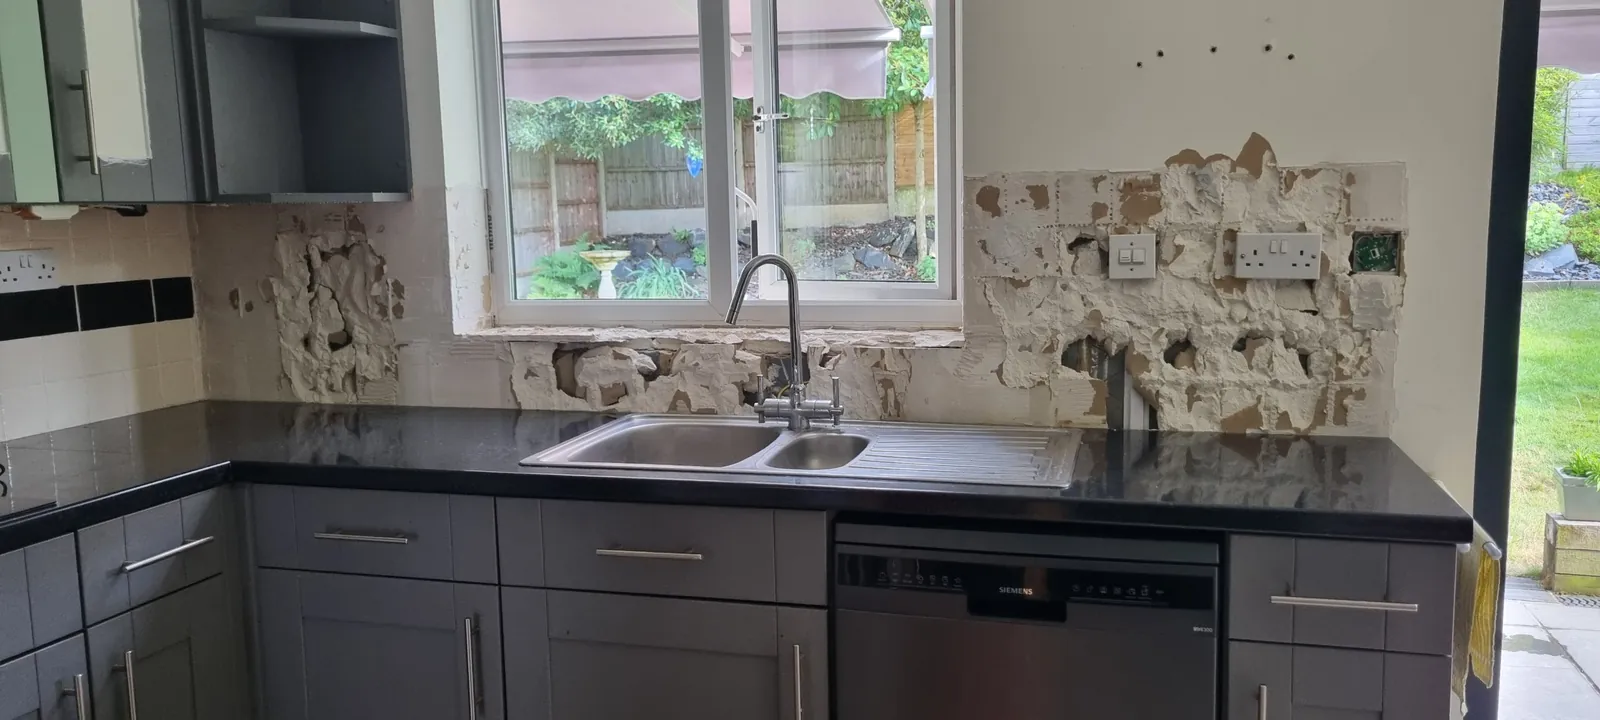
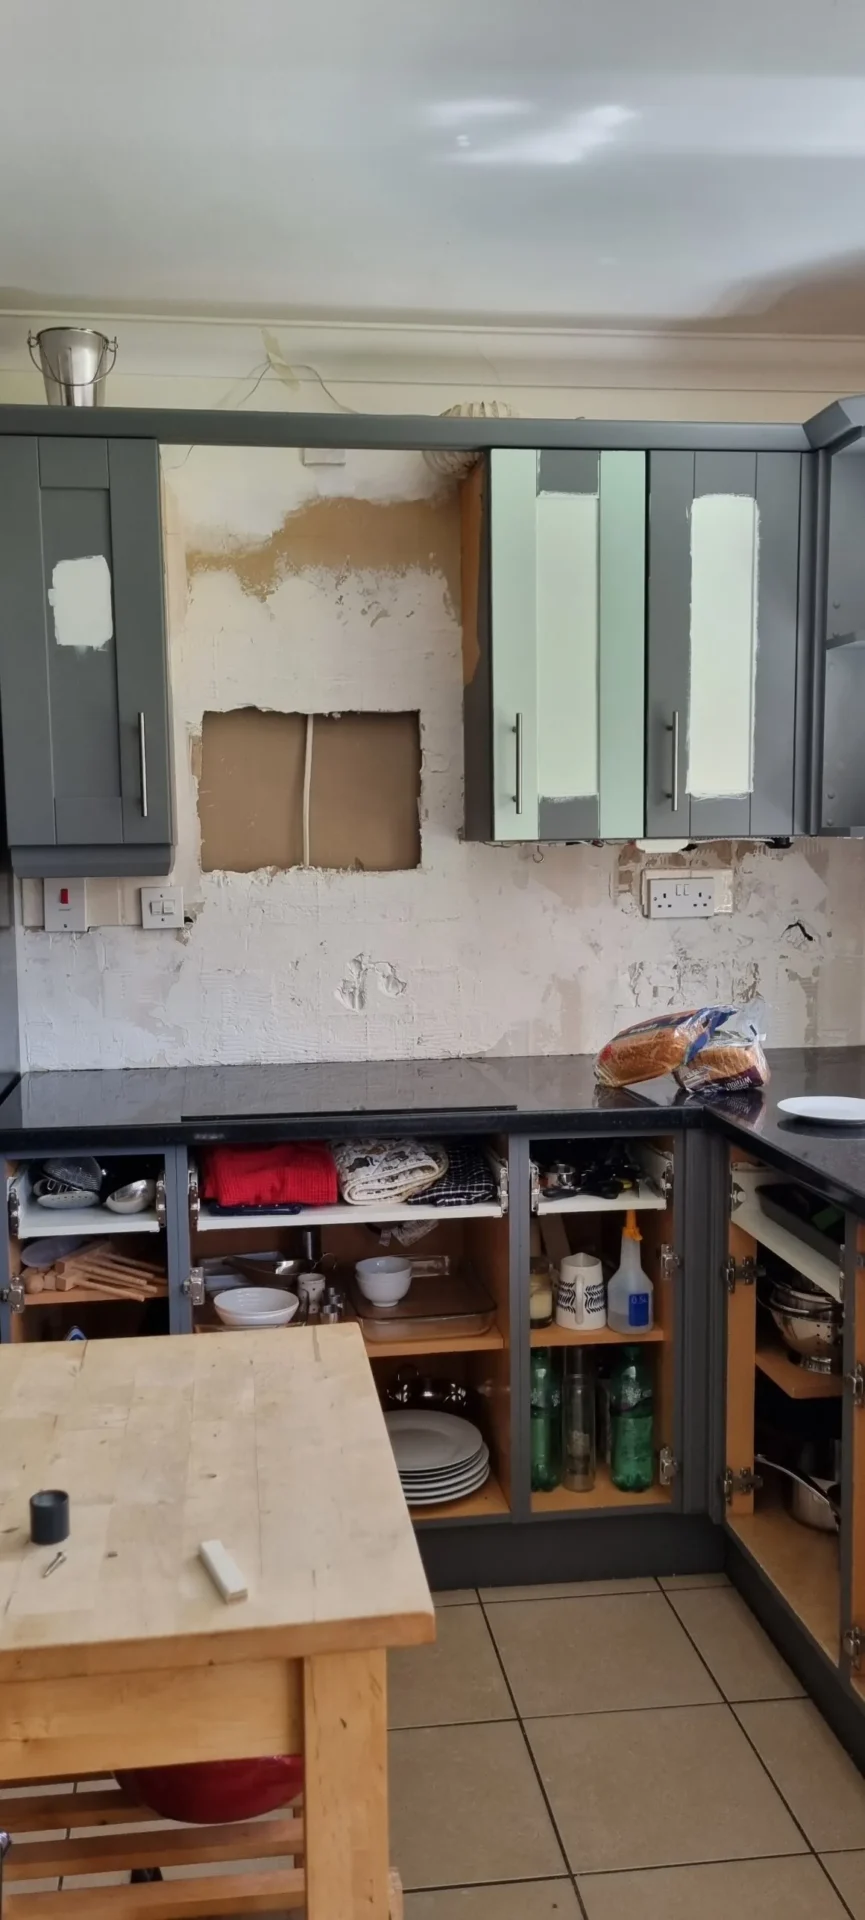
We went with the second option. It is quicker to get going, but there will be collateral damage to the plasterboard, and you have to be relaxed about that before you start. It can all be repaired.
Patching and preparing the walls
With the tiles off, the damage gets repaired. Big areas were patched with pieces of plasterboard stuck to noggins, then plastered over to fill the holes and create a smooth flat surface for the new tiles to go onto. The aim is flat, not pretty. Nobody is going to see it again.
Once the filler plaster was dry it was sized with BAL Bond SBR. Skipping this step on fresh plaster is a good way to have the adhesive dry out too fast and bond badly.
The windowsill
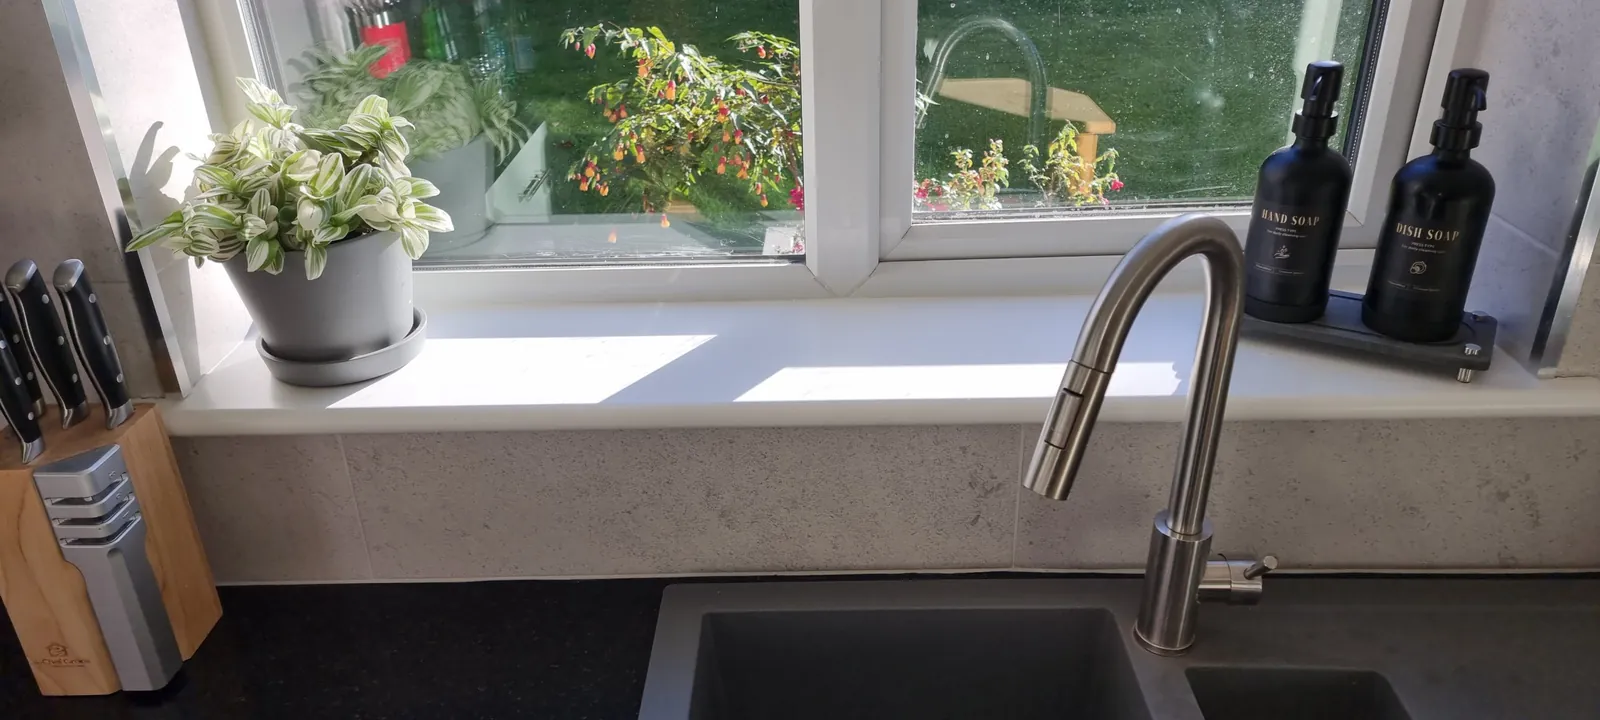
The old windowsill was tiled in the same small tiles as the splashback, and it came off with them. Rather than tile it again, we fitted a Wickes window board in its place.
Boards come oversized, so it was cut down to the right width and length for the opening. The ears — the short returns that carry on past the window surround at each end — were given a bullnose finish to match the front edge, so the rounded profile runs continuously round every visible edge instead of stopping dead at a square cut.
It is a better surface than tile for a sill above a sink: one continuous run with no grout lines to discolour and nothing for water to sit in. It also gives the new wall tiles a clean straight edge to sit down onto, which saved a lot of fiddly cutting around the reveal.
Tiling
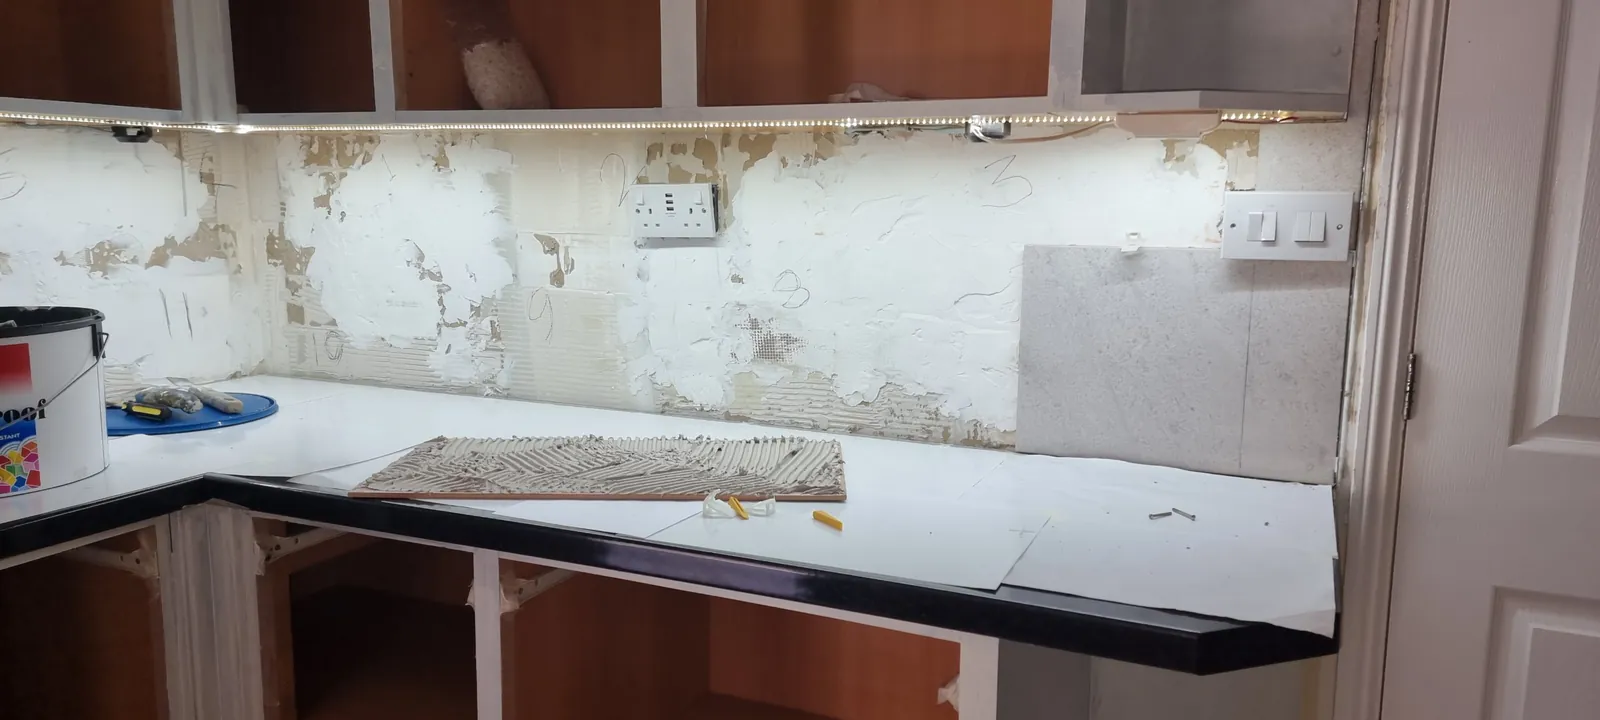
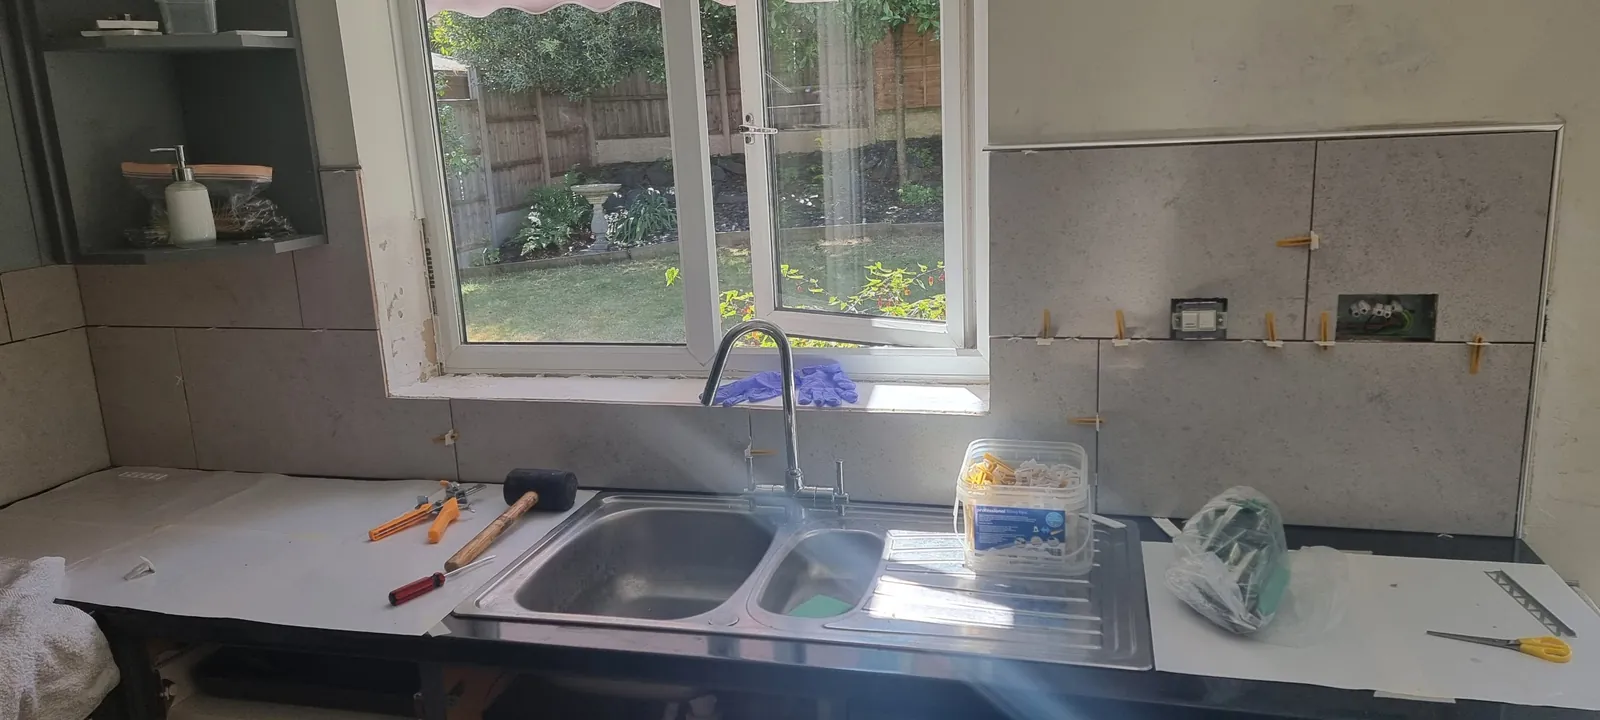
The new tiles are Topps Tiles Urban Ivory, a large format 30 x 60cm tile in a pale stone finish, fixed with BAL Flex One White tile adhesive and set out in a brick bond pattern. Vitrex tile levelling clips keep the faces flush with each other, which matters much more with large format tiles than with small ones — any lipping between tiles catches the light across a whole wall.
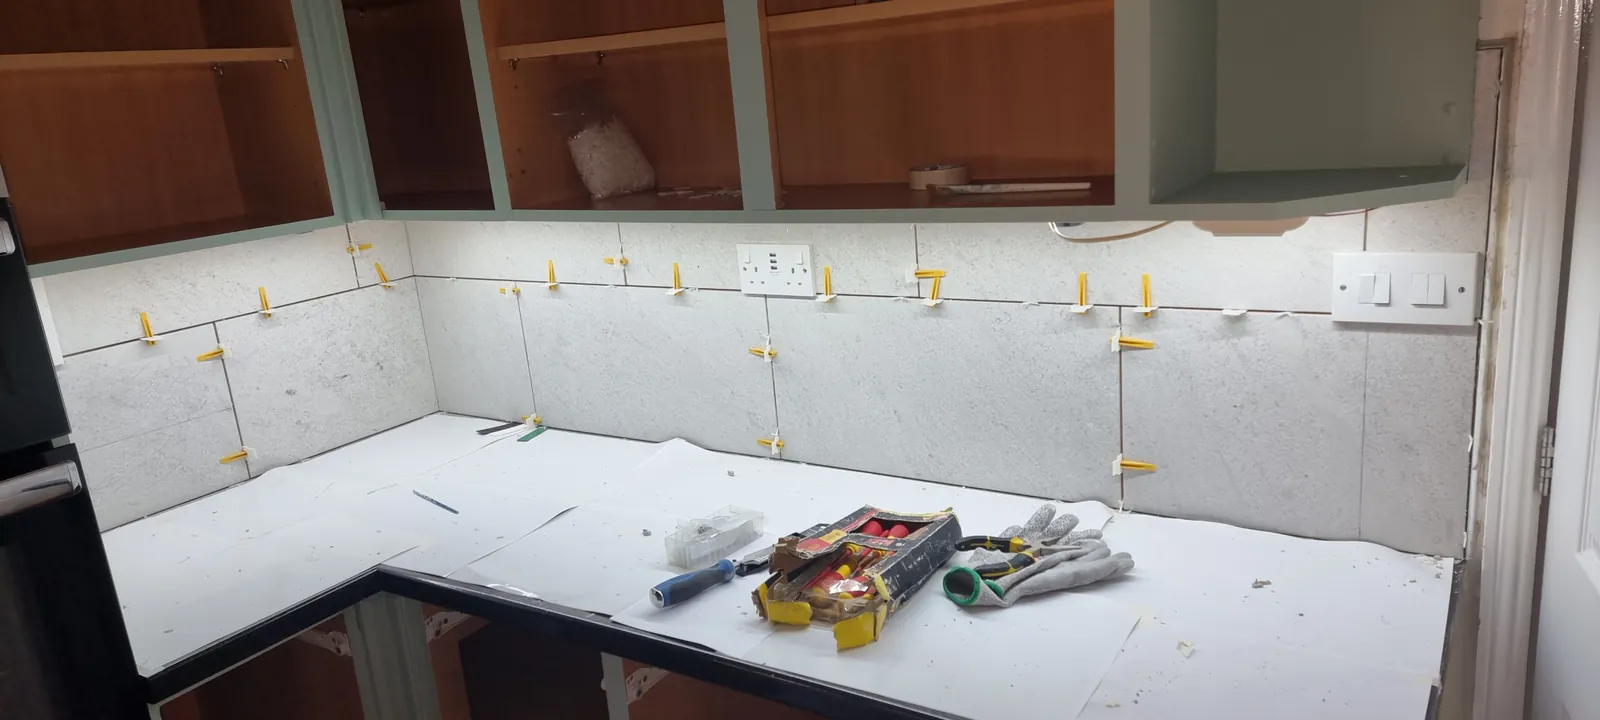
Chrome tile quadrant was used to cover the exposed edges where the tiling stops.
Turning the tumble dryer space into a cupboard
The utility had a gap where a tumble dryer used to live. Converting it to a cupboard was free storage.
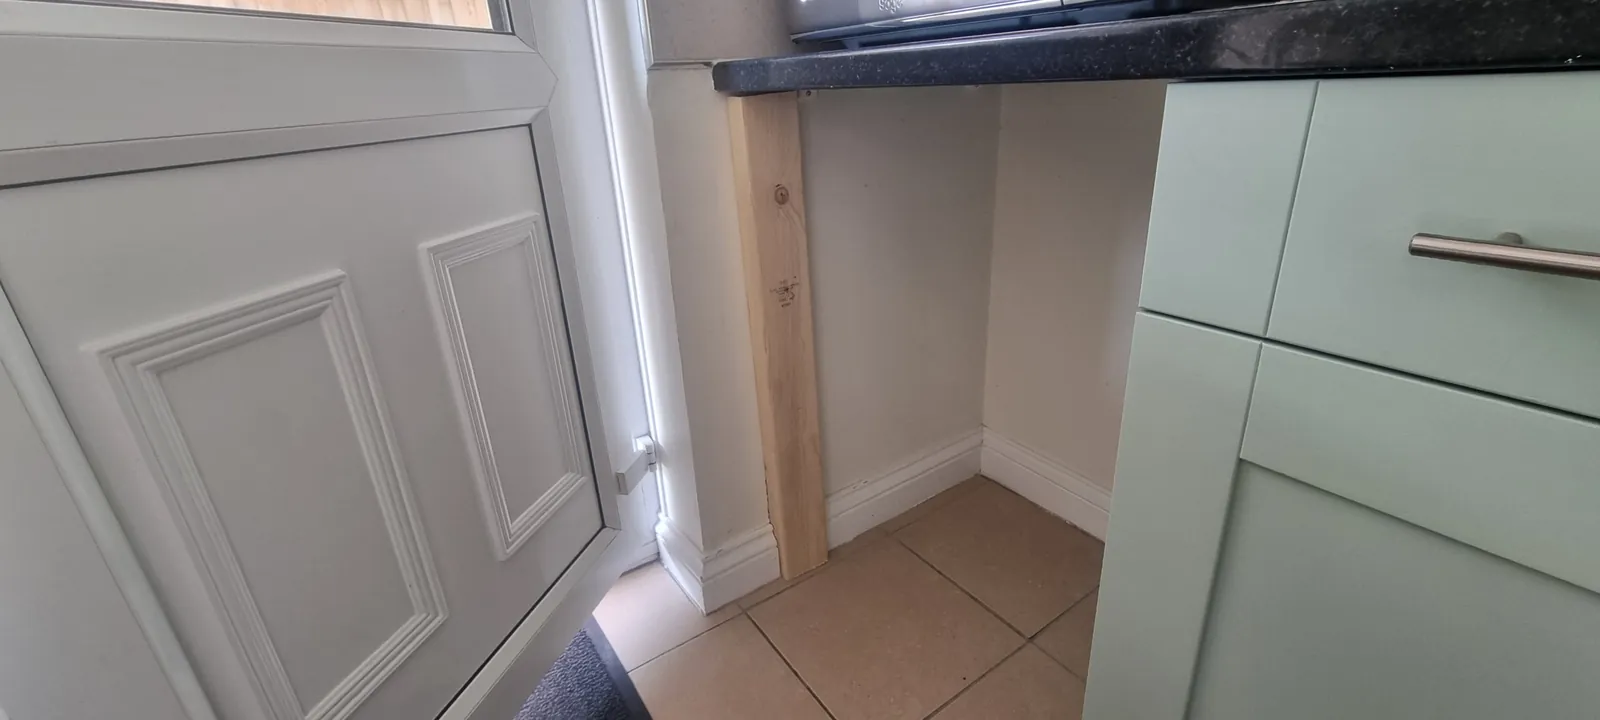
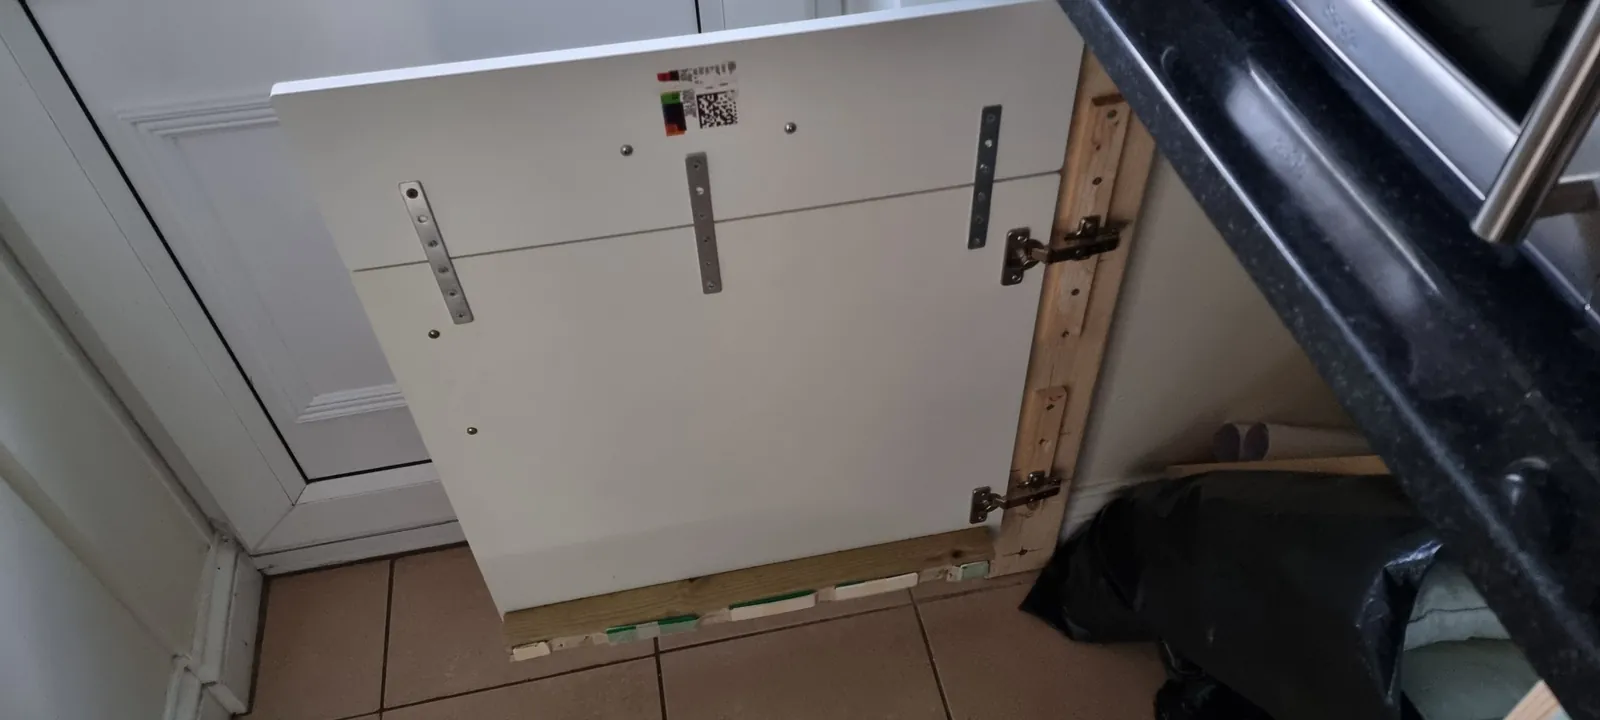
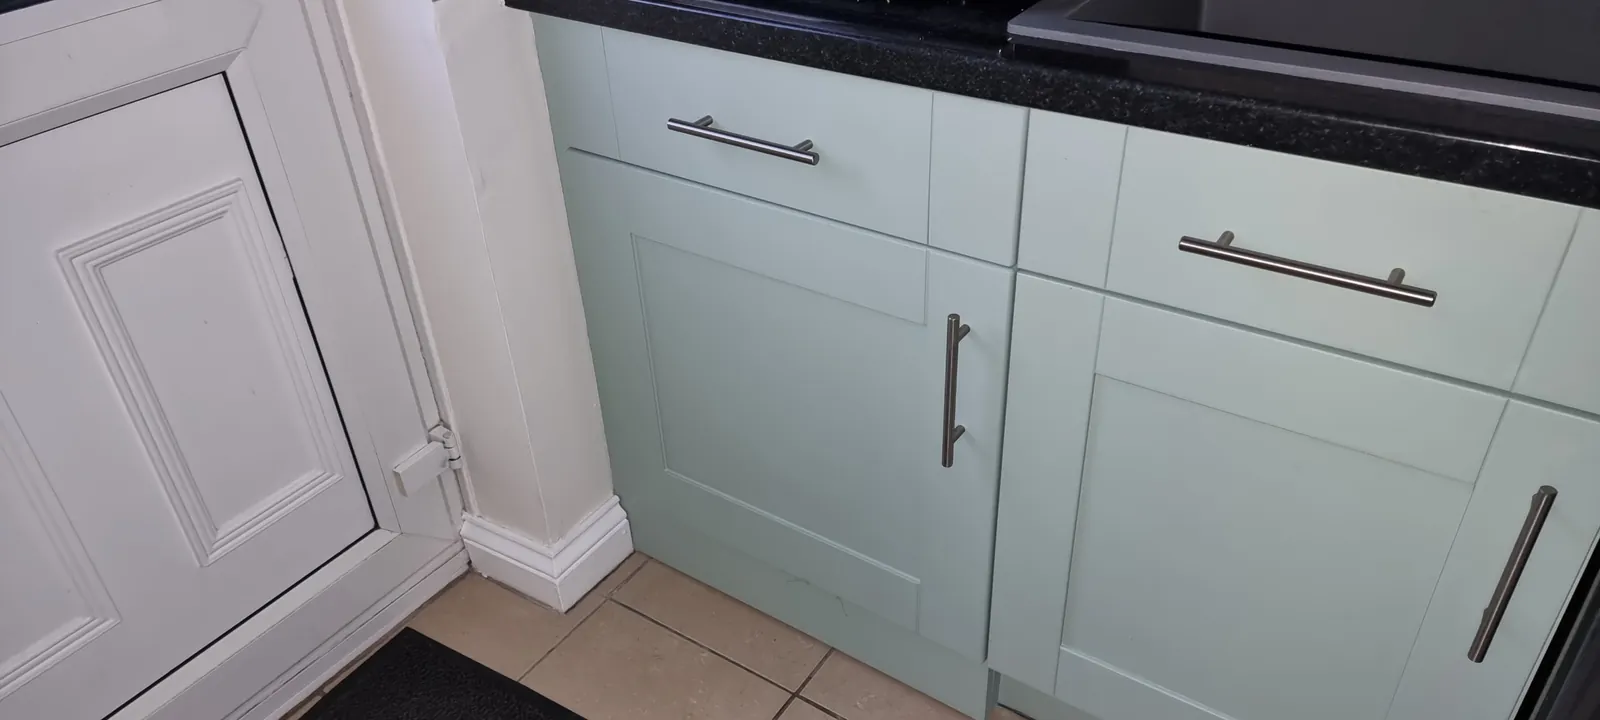
A shaker style door and a drawer front were made to size and bracketed together to make a single door, with tram lines put into the drawer front by hand so it reads as a drawer above a cupboard. A frame was built for the door to hang off, using Julius Blum hinges, and a kickboard fitted underneath to match the rest of the run.
Painting the doors
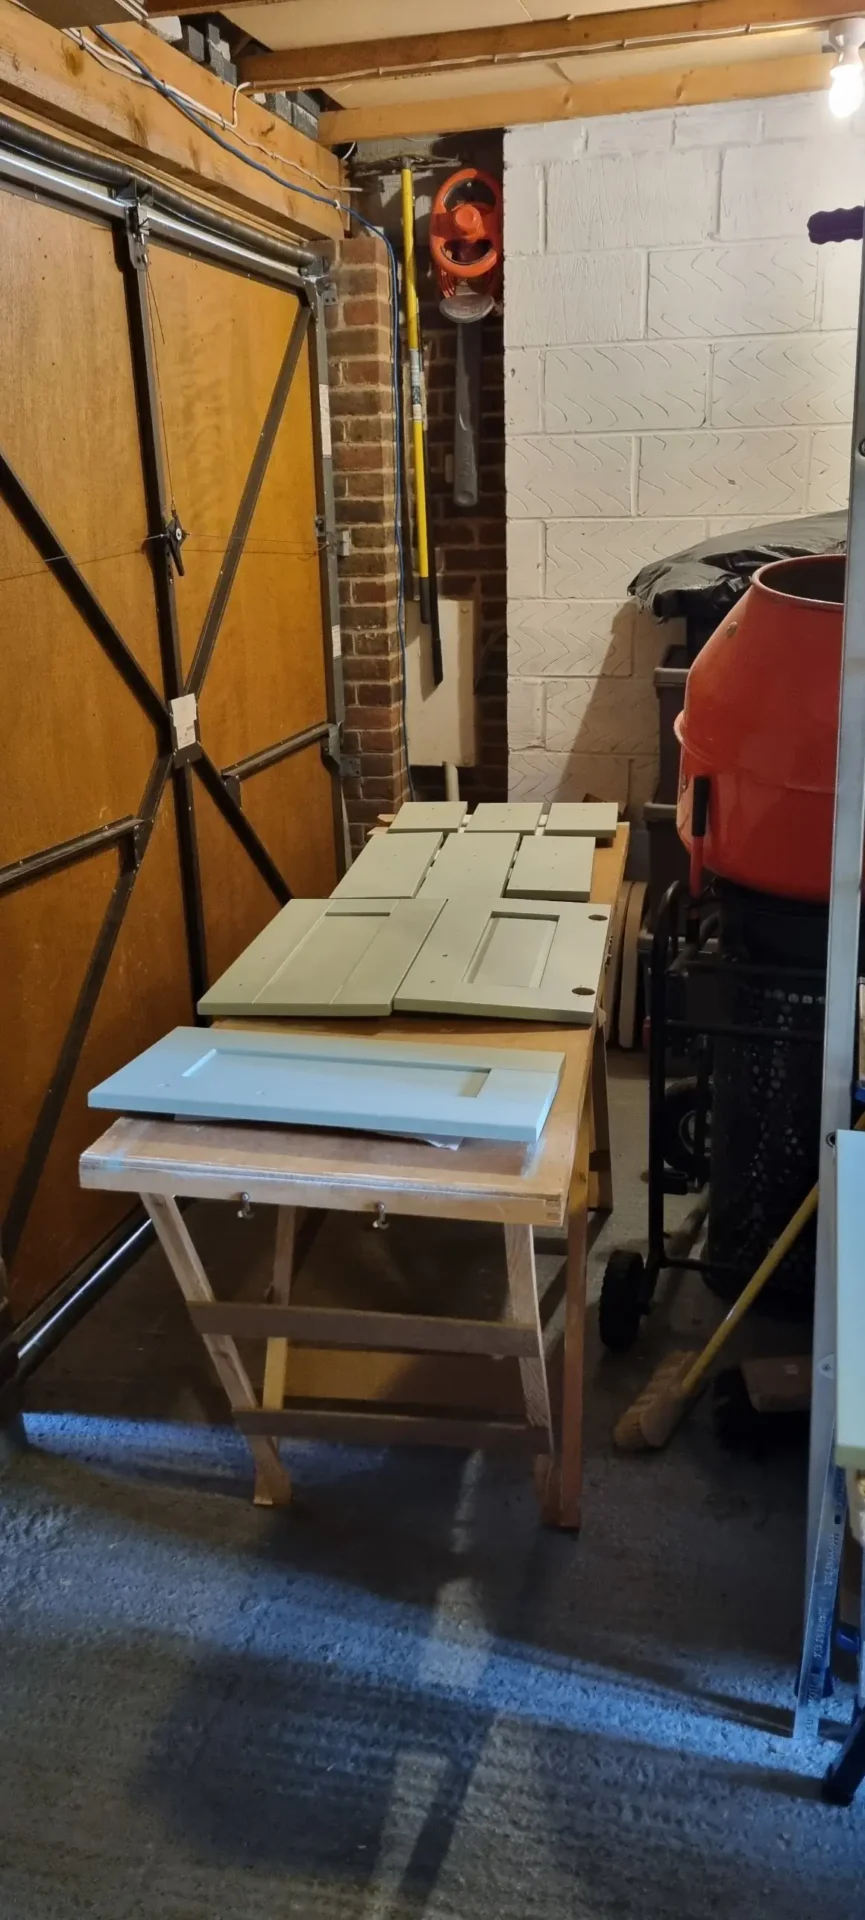
This happened in the garage, in parallel with the tiling. The cupboard doors and the carcasses were sanded down and cleaned with sugar soap. Getting this stage right is most of the job — paint will not rescue a surface that was not properly keyed and cleaned.
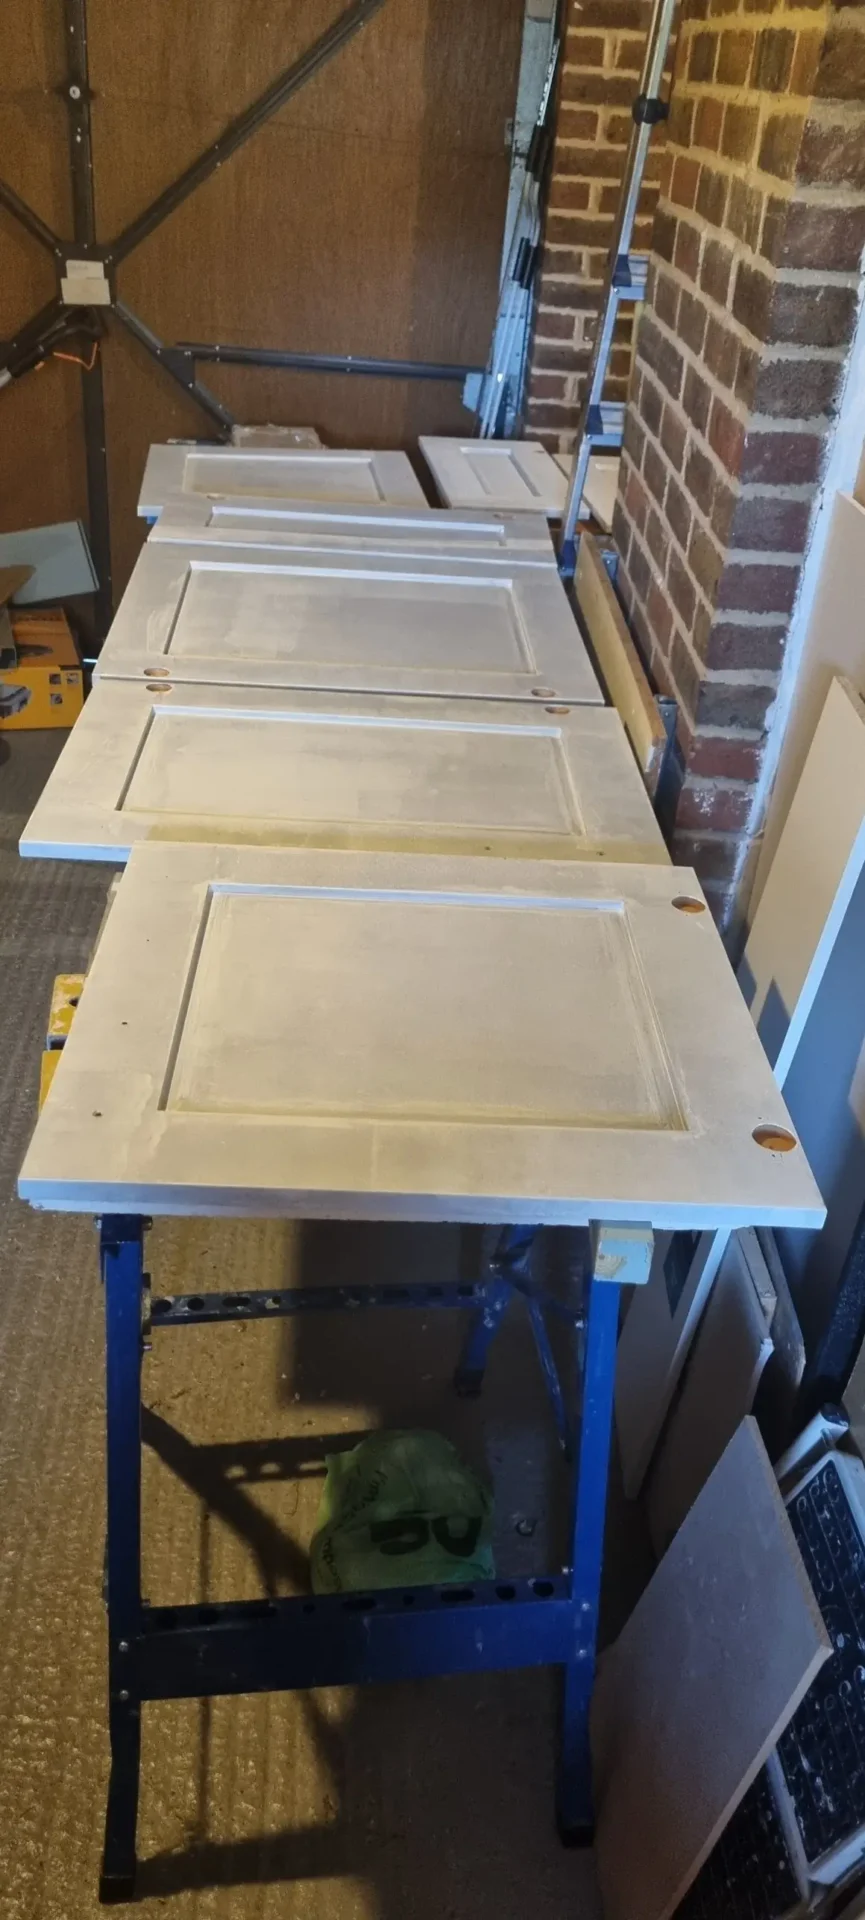
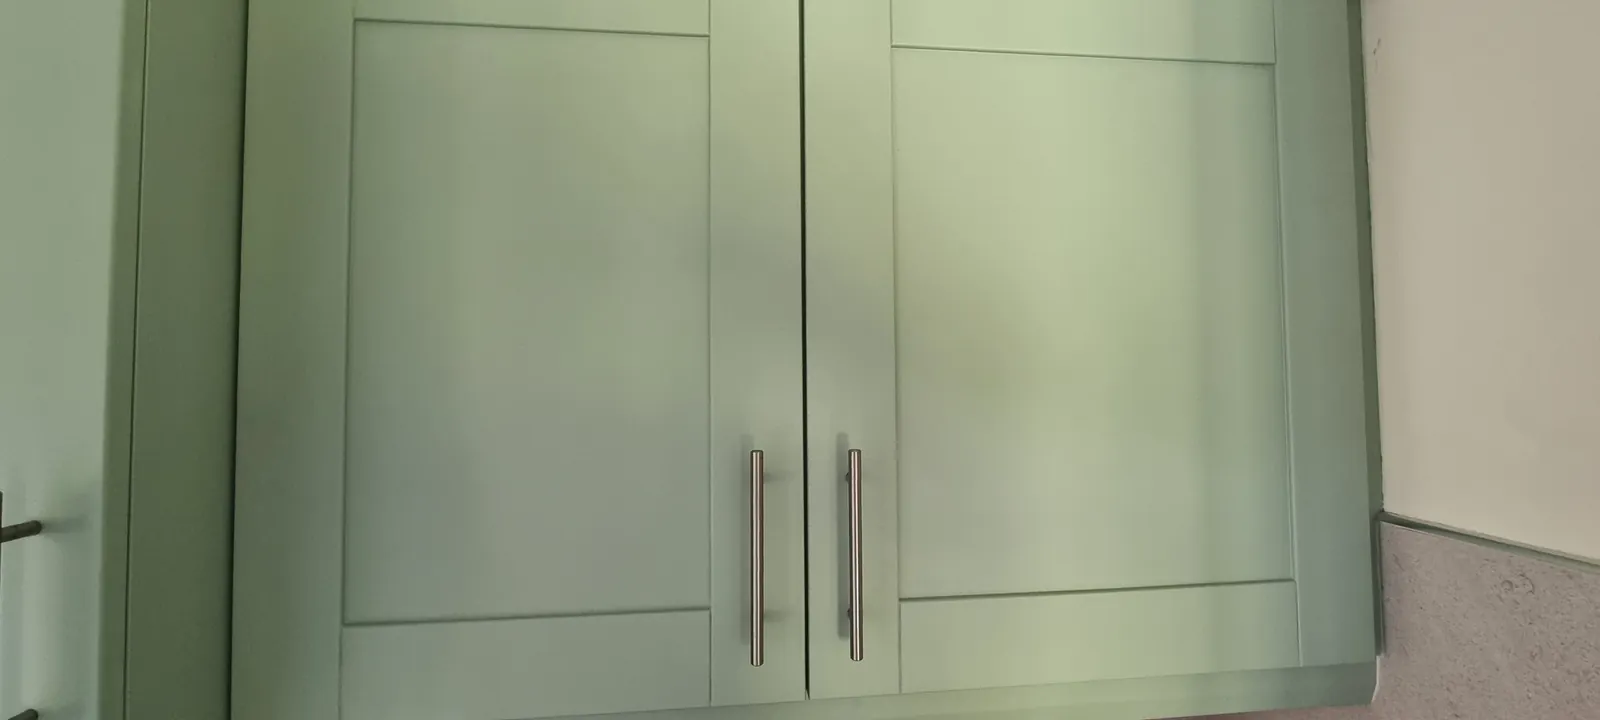
A coat of Wickes trade primer in white went on with a roller and was left four hours to dry. Then the first coat of Rustoleum in sage green, rollered on, another four hours. Then the final coat of sage green, and this is the part that needs patience: the doors were left for seven days to harden completely, on trestle tables in the garage, before anyone touched them. Cabinet paint feels dry long before it is actually hard, and handling it early leaves marks you cannot get out.
Grouting
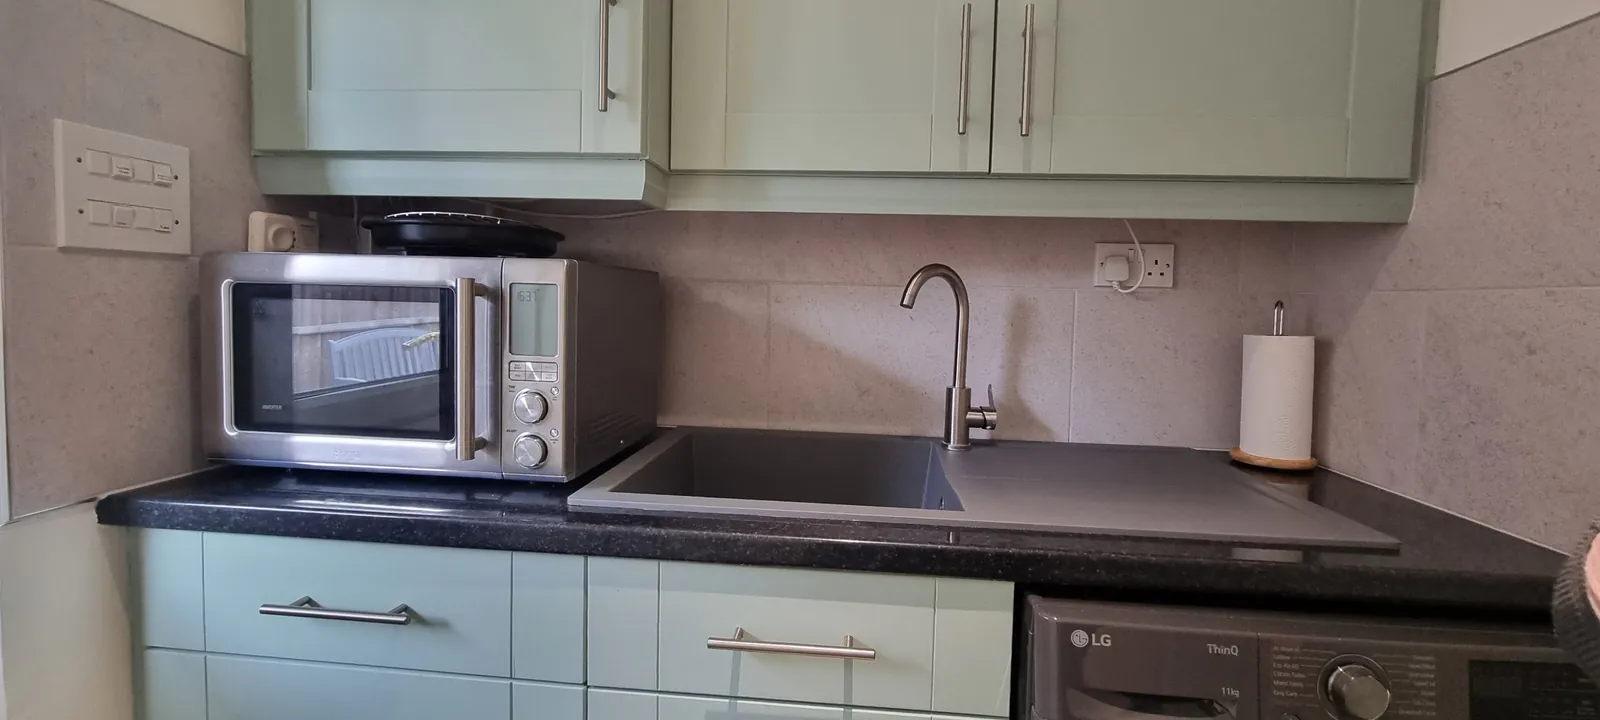
Once the doors and pelmets were back on, the tiling got grouted with Kerakoll Fugalite Color waterproof epoxy grout in Silver Gray KK02.
Epoxy grout is excellent behind a sink and unforgiving everywhere else. The pot open time is about twenty minutes, so avoid mixing a full container if you possibly can. We used scales to mix it accurately in a two to one ratio, part A to part B, and sponged off with lots of water. Mix small, work fast, keep the bucket of water close.
Then the kitchen, all over again
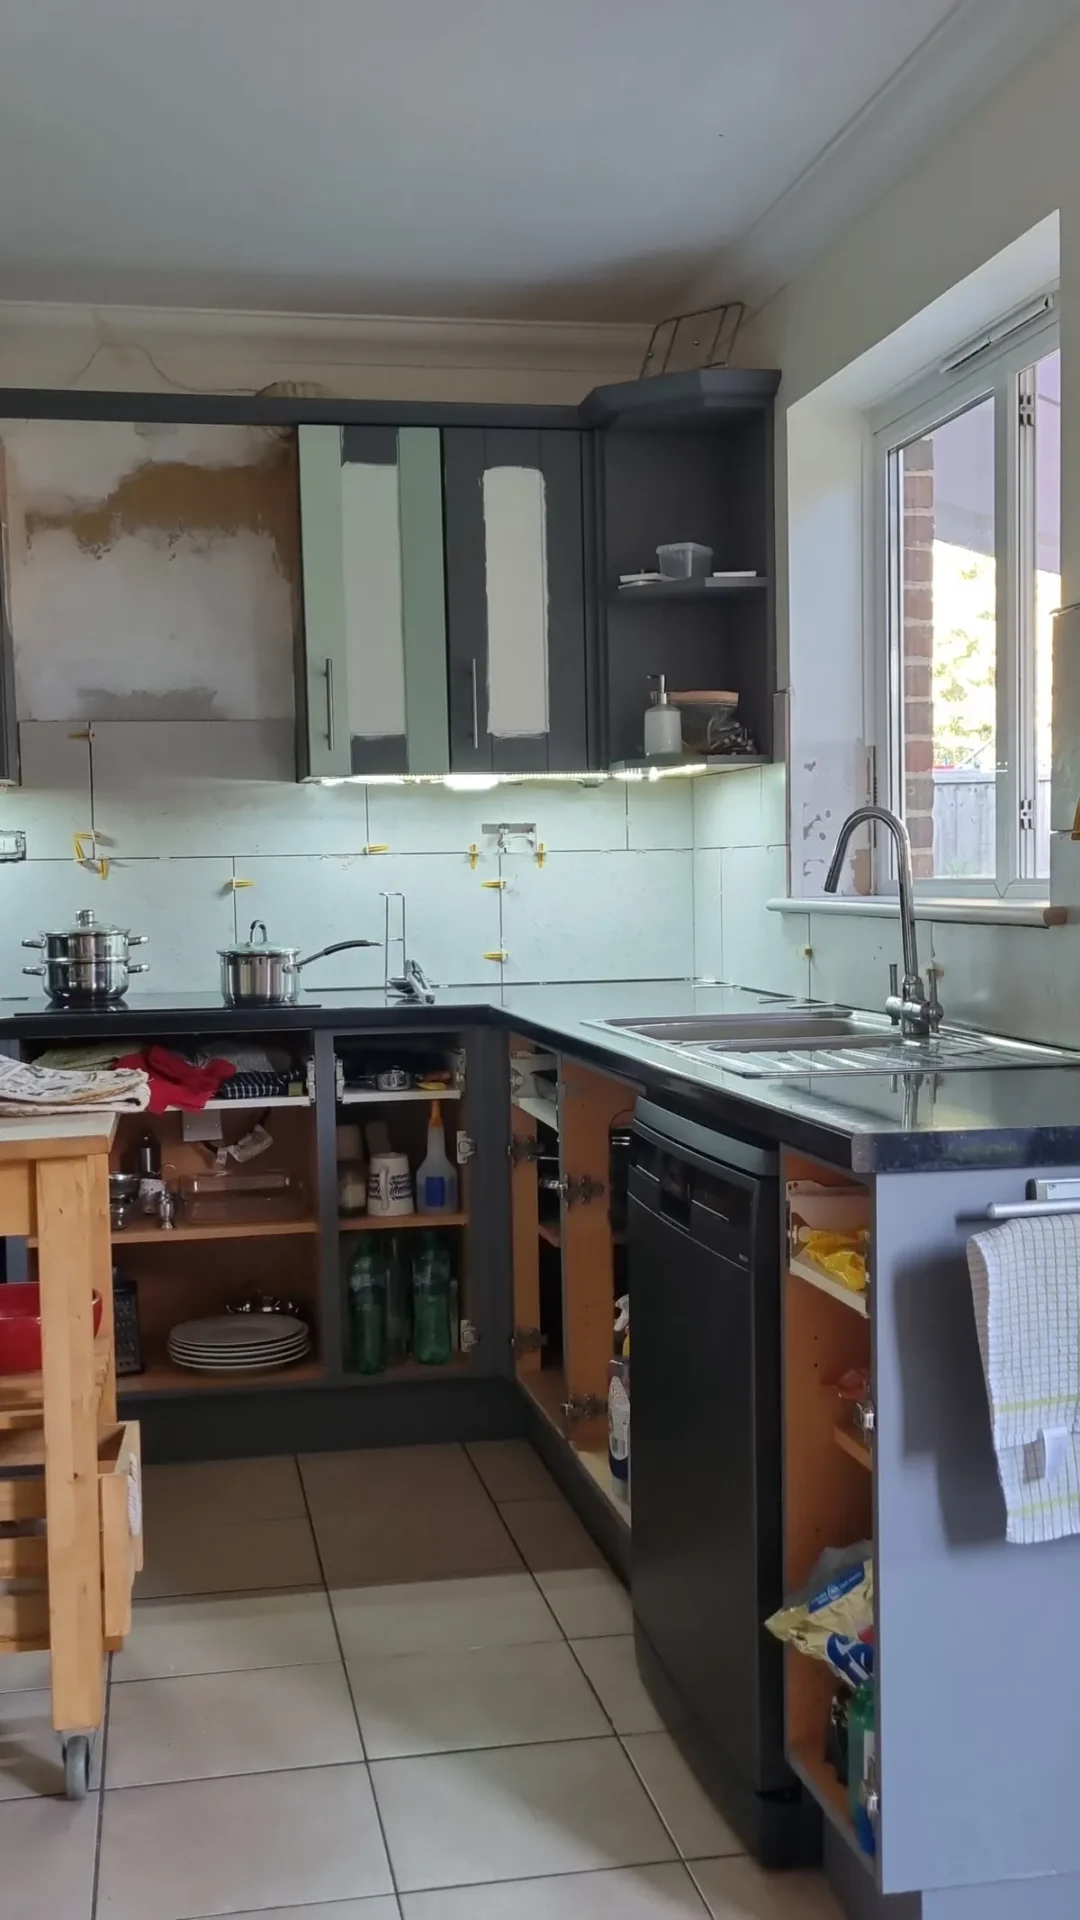
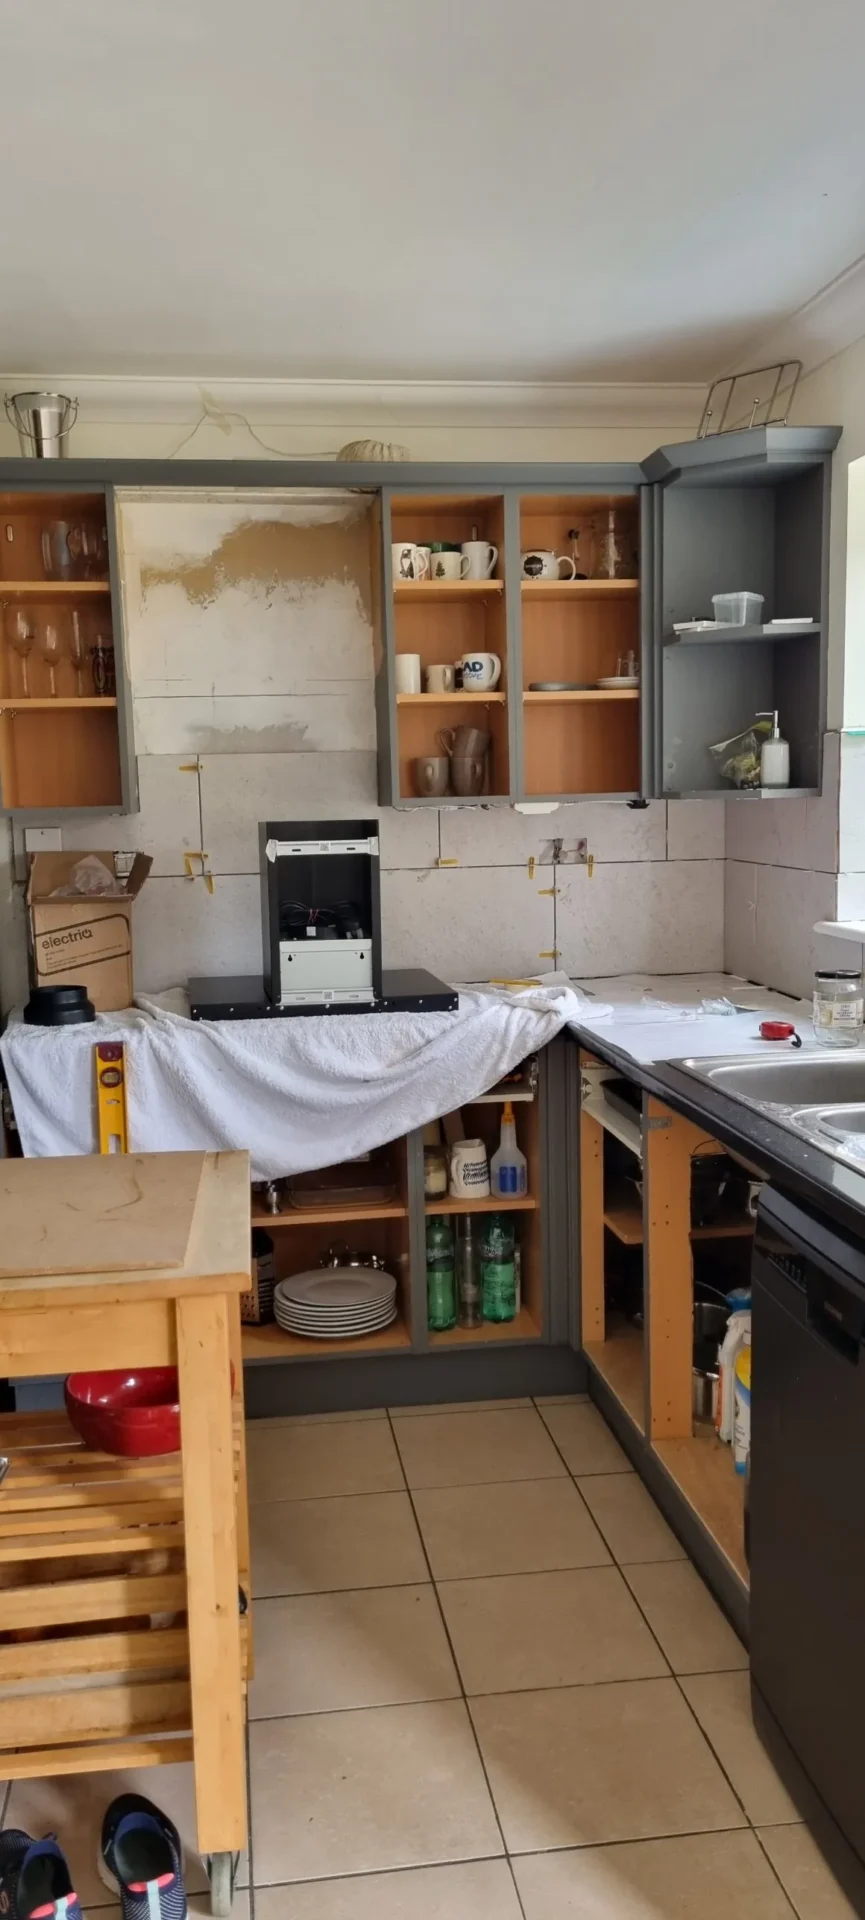
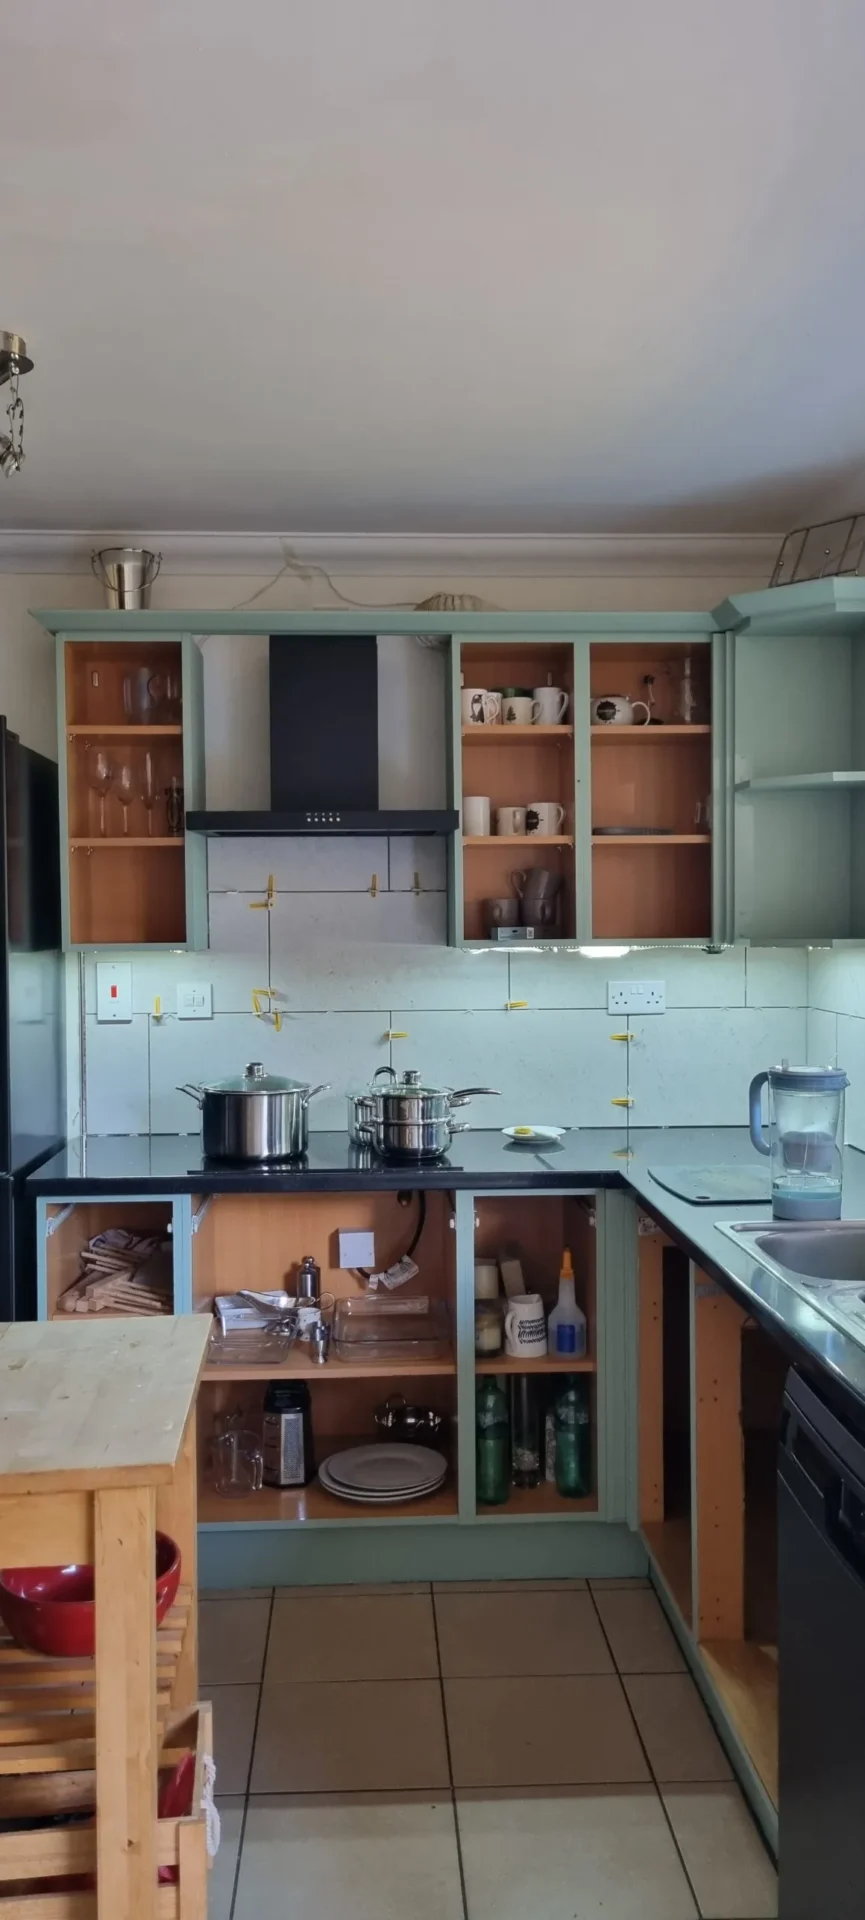
With the utility finished, the same process ran again in the kitchen: clear out, doors off, cover up, tiles off, patch, size, tile, paint, grout. The difference is scale, and the fact that you are living in the room while it happens. The kitchen got done in sections for exactly that reason, so there was always somewhere to make a cup of tea.
The cooker hood
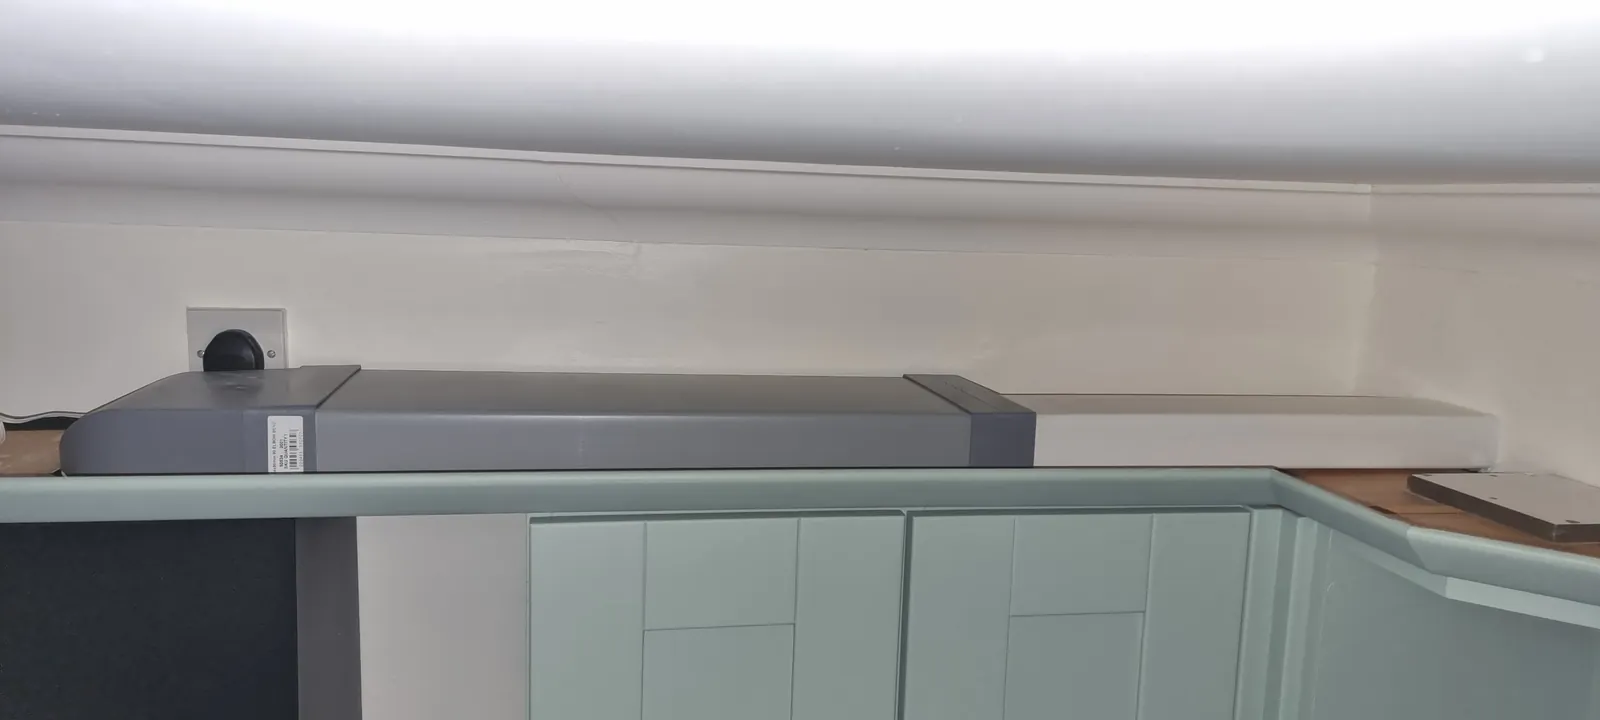
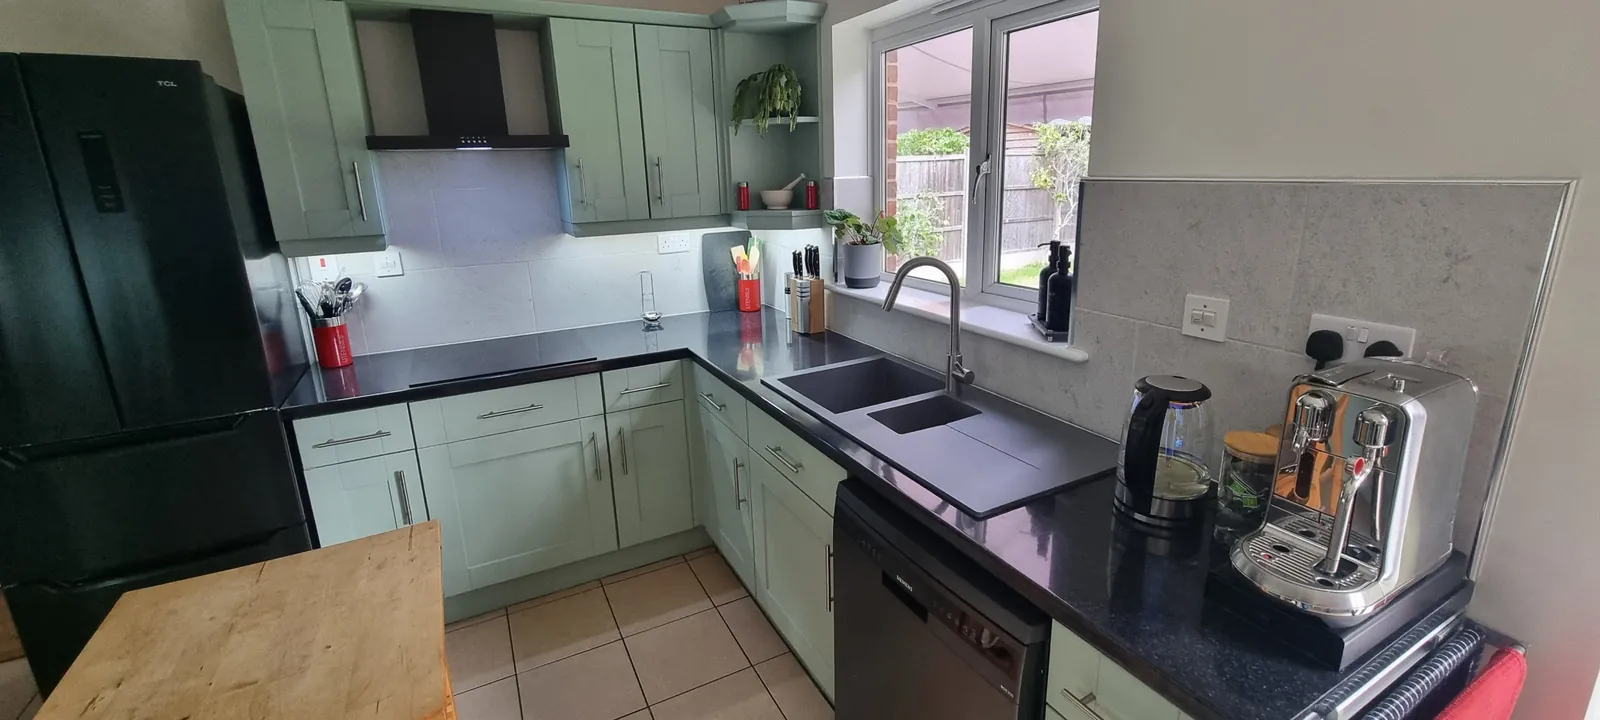
The old integrated cooker hood was ripped out and replaced with a black electriQ chimney hood. New square plastic ducting runs from it across the top of the high level cabinets and vents outside.
Sinks and taps
The old stainless steel sinks were replaced with grey composite ones. The new bowls are bigger, so the cut-outs in the worktops had to be opened up to take them. Worth measuring carefully before you cut: check the bowl will not protrude beyond the appliances either side of the sink.
The taps are the one part of this that is not finished. A pair of Paragon Fawcett touch-sensitive smart pull-out taps were ordered from China at a cost of £360, and then took three months to arrive — long enough to watch them work their way across China on the tracking. Rather than live without taps for a quarter of a year, we bought a cheap pair of pull-out taps from Amazon for £30, structurally similar and close enough in looks, and fitted those as a stopgap. The smart taps will go on when I get round to it.
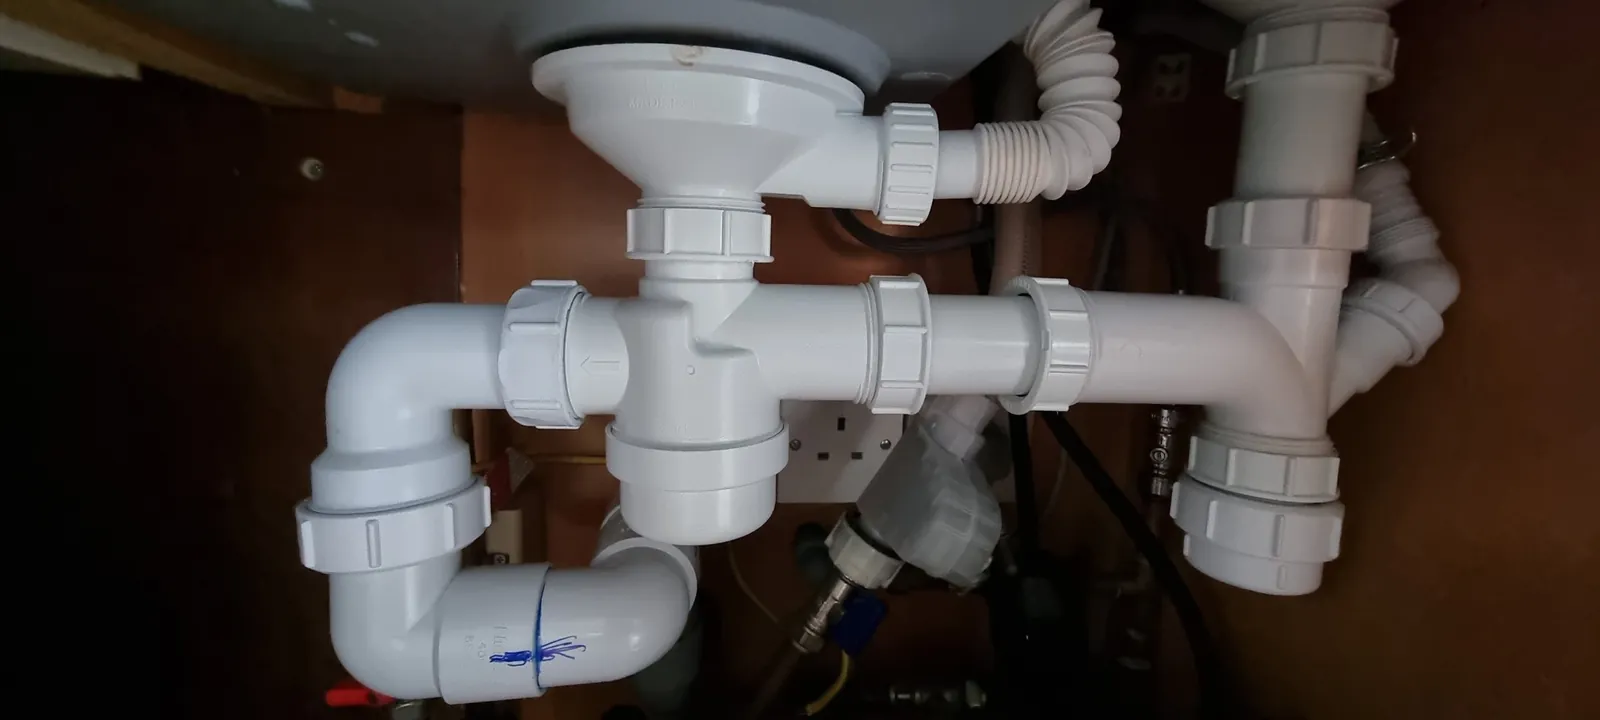
One practical note: the taps had to be fitted to the sinks before the sinks went into the worktops, because there was not enough room between the bowl and the back board to get at the tap tails afterwards. Push fit fittings with isolation valves made the final connections manageable, and mean the next person to work under there can turn the water off locally.
The result
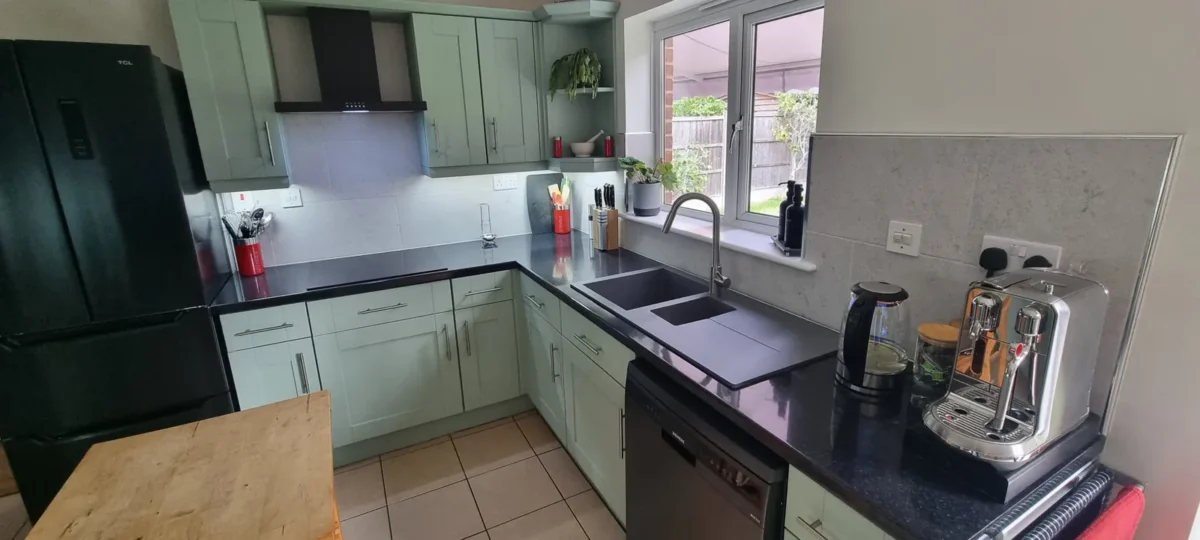
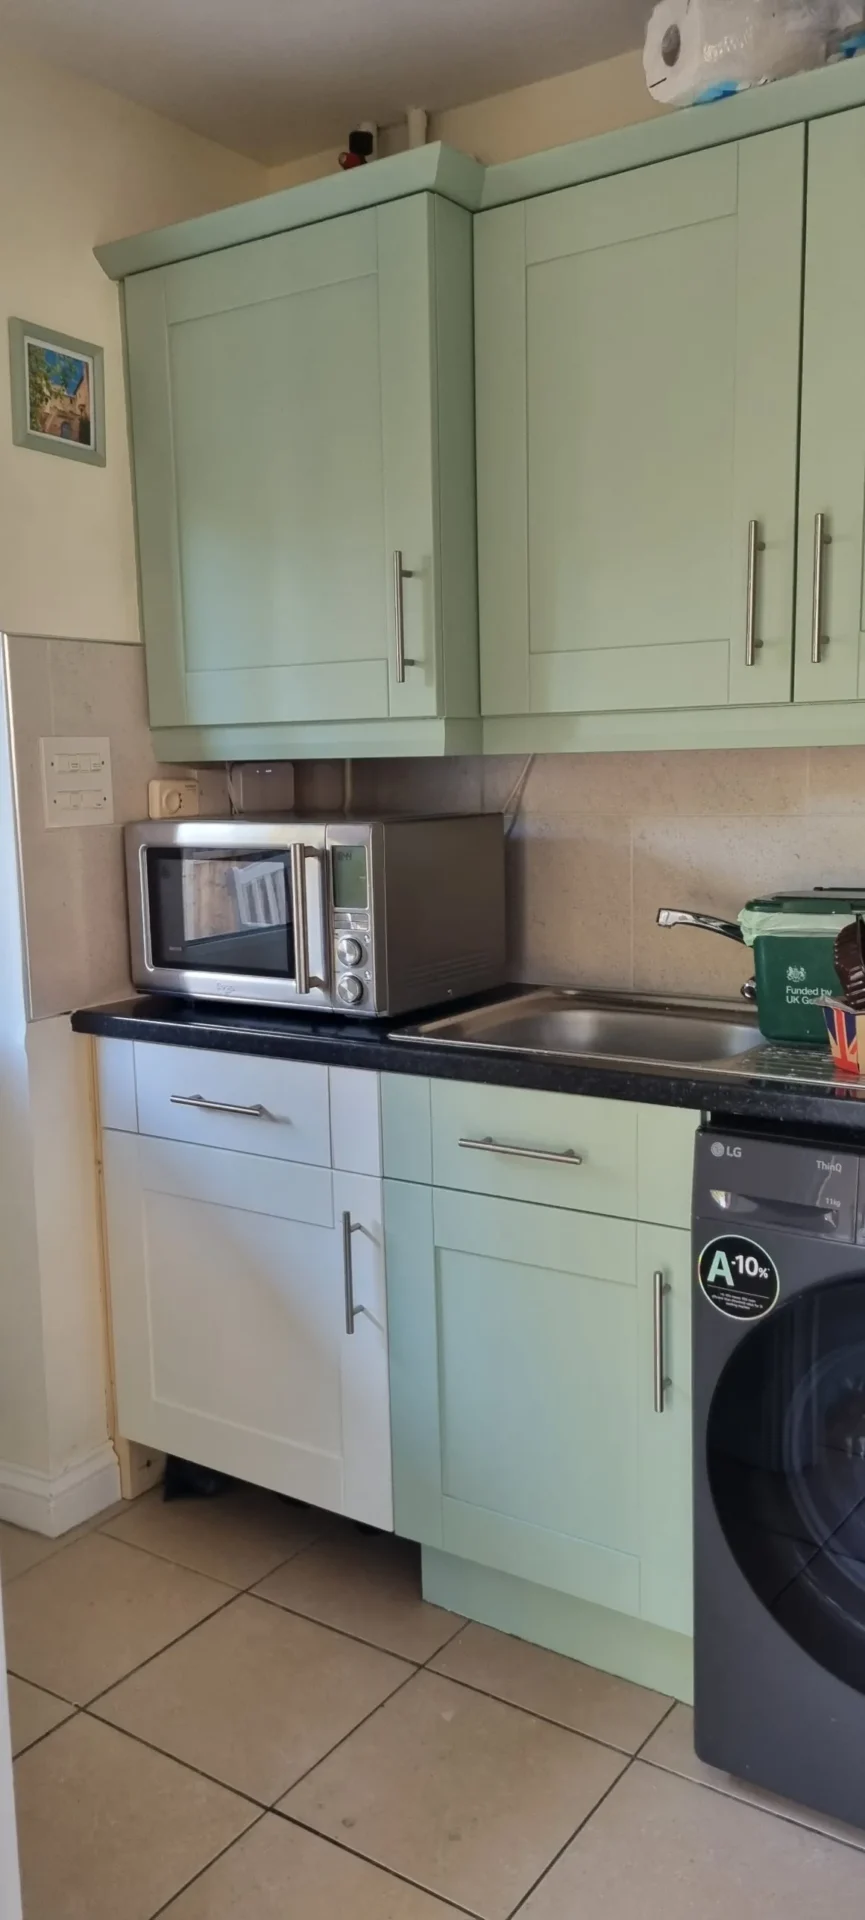
Same carcasses, same worktops, same layout. New doors colour, new splashbacks, new sinks and taps, new extractor and a cupboard where a tumble dryer used to be.
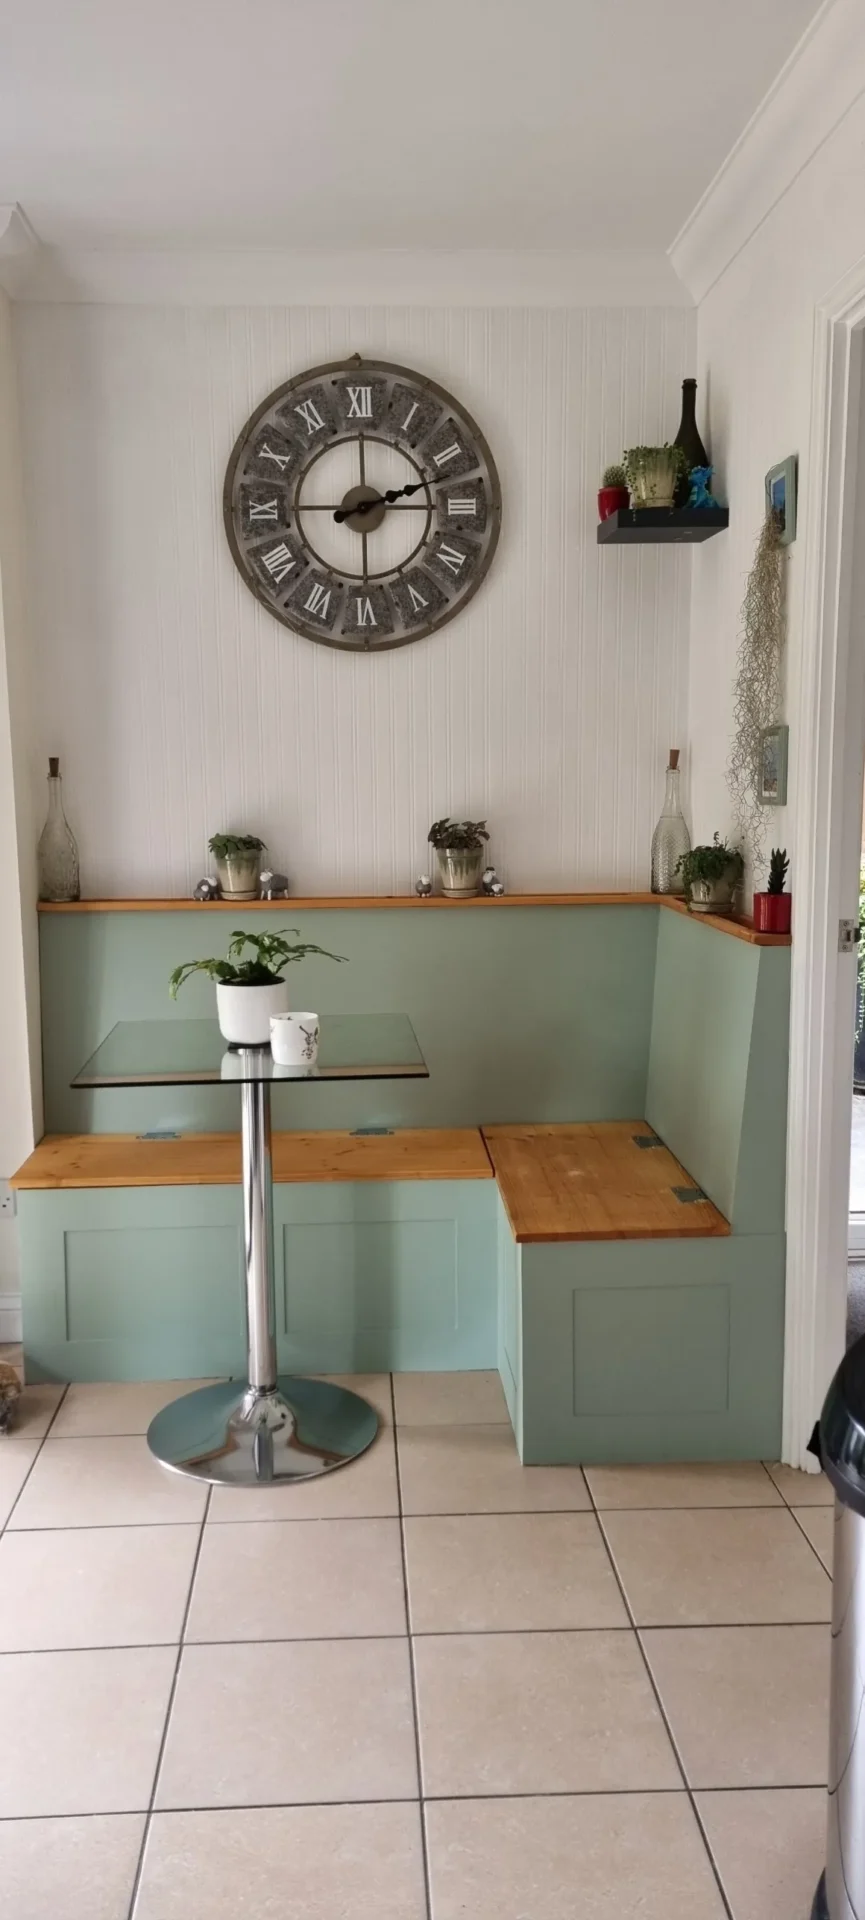
The bench seating at the far end of the room is not part of this project — it went in a few years earlier, and it has a write-up of its own if you want the build: turning an unloved corner of a kitchen into a banquette with bench seating and storage.
If you are looking at a property with a dated but structurally sound kitchen, it is worth pricing this route before assuming a replacement. The materials are not expensive. What it costs is weekends, and a tolerance for living with dust sheets for a while.