Enhance Your Property by Laying a New Patio
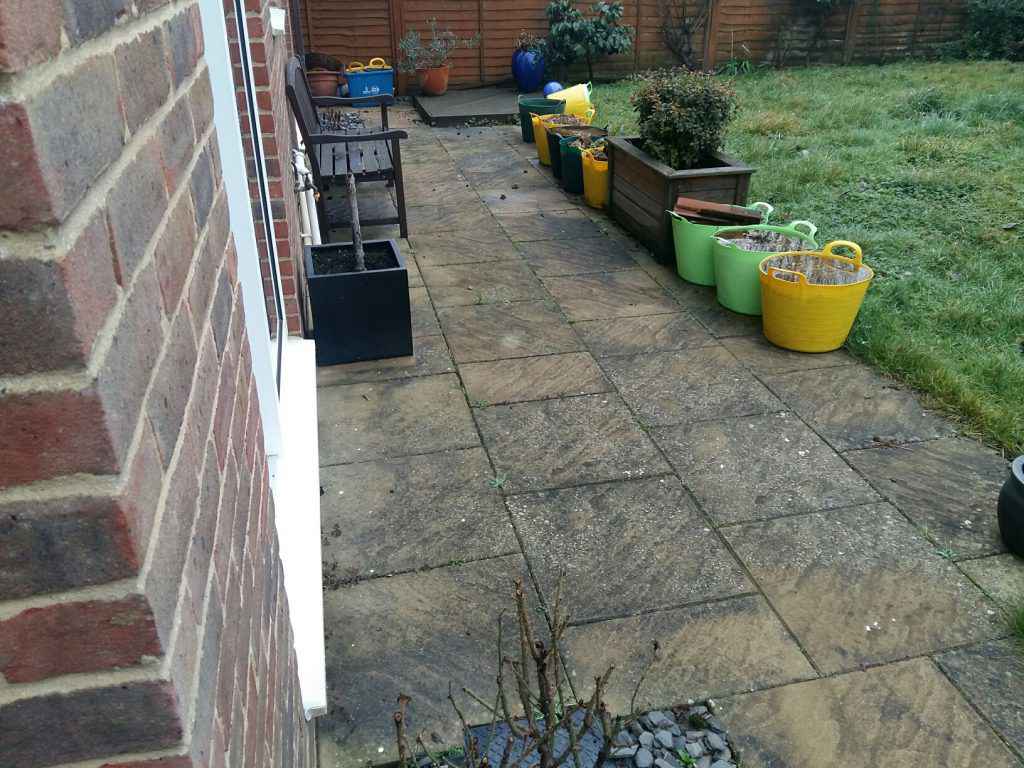
It is time to start thinking about your outdoor spaces when summer is approaching. The patio in the example is twenty years old and is beginning to show its age. The patio slabs have sunken in places and become uneven in high-traffic areas. It’s time to pull up the old pavers and lay down a new patio.
When the original house builders laid the patio, they put down a very thin sub-base of hardcore and then laid a thin layer of sand on top without compacting the earth. This has led to the slabs sinking and becoming uneven in places. See the picture below.
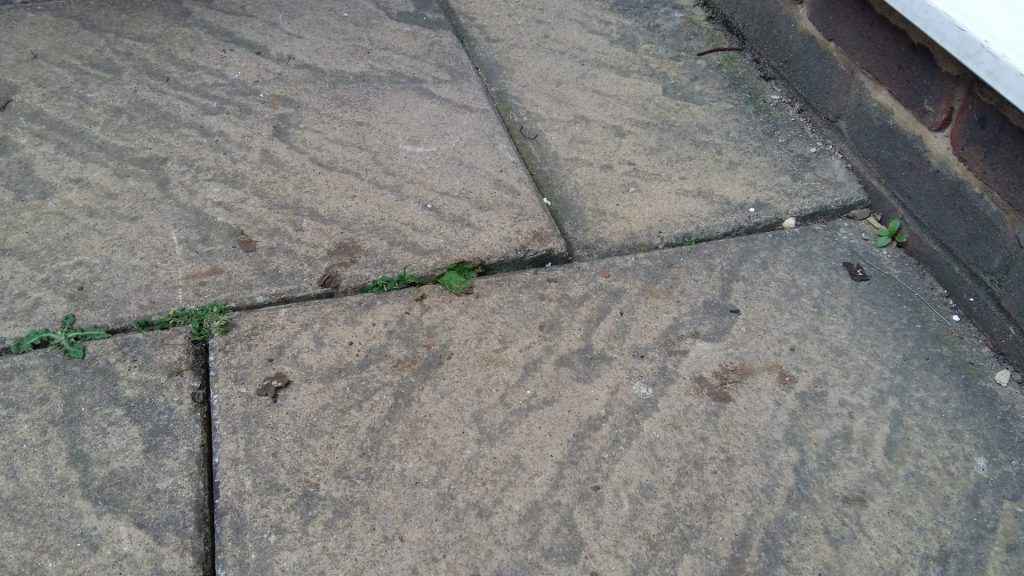
The first part of the project is to pull the slabs up and prepare the groundwork. This will involve removing the old sand base layer and digging out the hardcore sub-base and some of the earth below to give enough depth for the sub-base, base, and slab layers.
This will allow for a new 100 mm sub-base of Type 1 MoT. MoT stands for Ministry of Transport, which is the specification for the type of hardcore used for sub-base layers, also known as DoT or Department of Transport. On top of Type 1 will go a base layer of cement to a depth of 40mm.
The base layer will consist of three parts: sharp sand and one part cement, and the slabs will be laid on top of it. The depth of the slab should also be taken into account to allow for a gap of 50mm, if possible, below the level of the damp proof course (DPC) so that the risk of water penetration into the brickwork from the splashback of droplets against the wall, when it rains, is minimised.
Laying a New Patio, Part 2
This is part 2 of the patio replacement project, which we are starting for the summer. We have pulled up the old patio slabs, revealing the thin sand base layer the original housebuilders put down.
A pickaxe is useful for lifting up the old slabs and breaking up the ground, while an electric breaker is useful for any concreted area.
Be careful when pulling up the slabs and using hand tools like a pickaxe or shovel or power tools such as a breaker to remove the earth so that you do not damage any underground services like water supply or waste pipes. It’s always a good idea to know where the services run and how close to the surface they are when digging out spoil.
Here, you can see a drainpipe near the surface where it exits the downpipe.
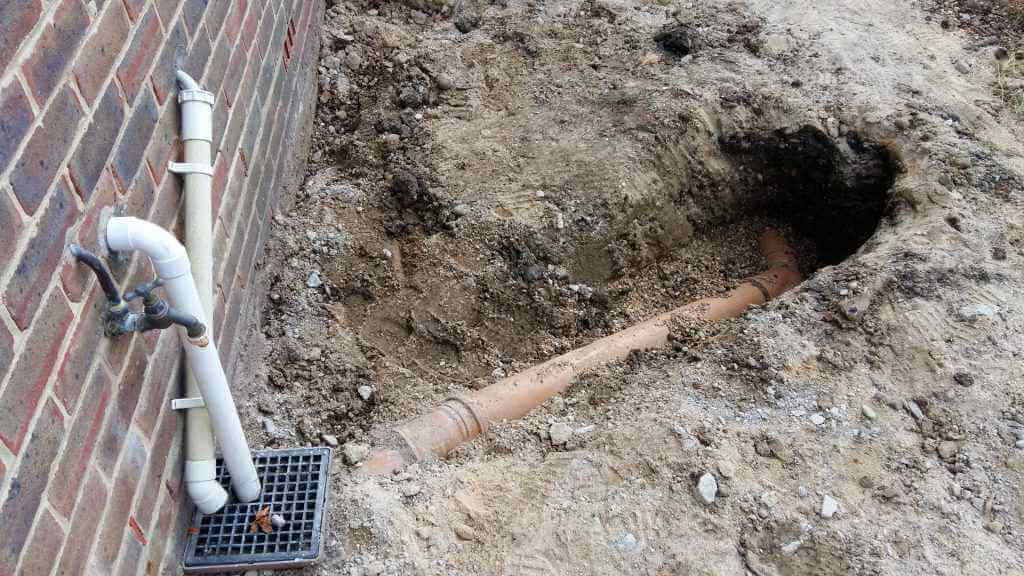
Round by the rear of the garage, the slabs had sunken quite badly where they butted up to the garage wall. This was most prominent near the rain gutter downpipe, which could highlight a leak in the pipe below ground level, washing out the substrate and causing the slabs to sink.
To investigate this, a large trench was dug to determine the state of the pipework. A visual inspection revealed that the pipework looked undamaged, and pouring water into the gutter showed that there were no leaks.
The digging revealed that the garage had been built using a block and beam construction, and the void under the floor had been left open underneath the outermost precast beam.
Because the garage is single-skin, the wall had been built on top of the beam, which meant there was no outer facing brickwork laid down to the concrete foundation footing level, and therefore, the void was open, allowing the collapse of the patio substrate into the void.
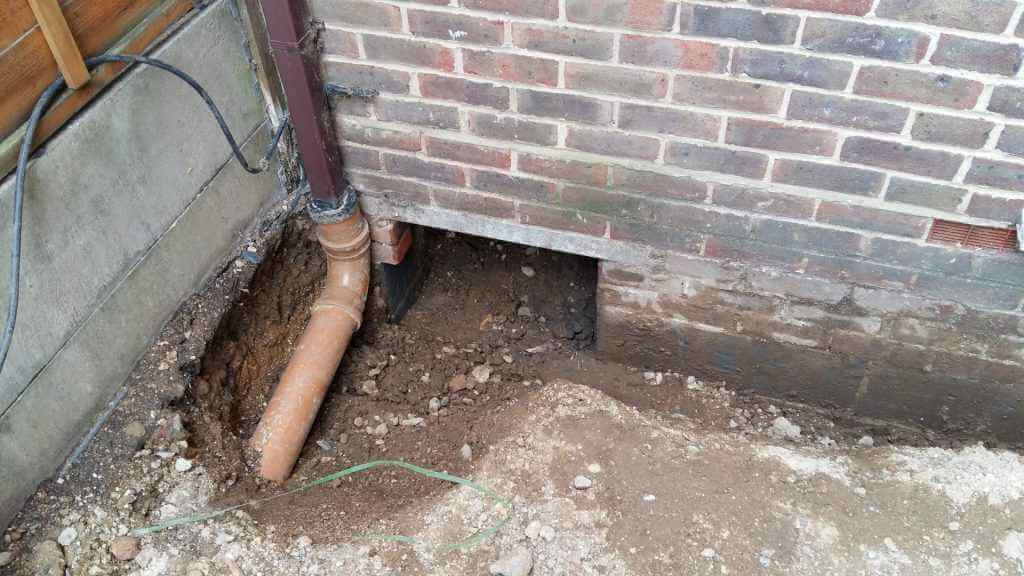
To remedy this, some pressure battens were glued to the brick and block piers, and pressure-treated gravel boards were screwed onto the battens underneath the outermost beam. This will stop the hardcore and type 1 that we put back into the trench from collapsing into the void underneath the block and beam garage floor.
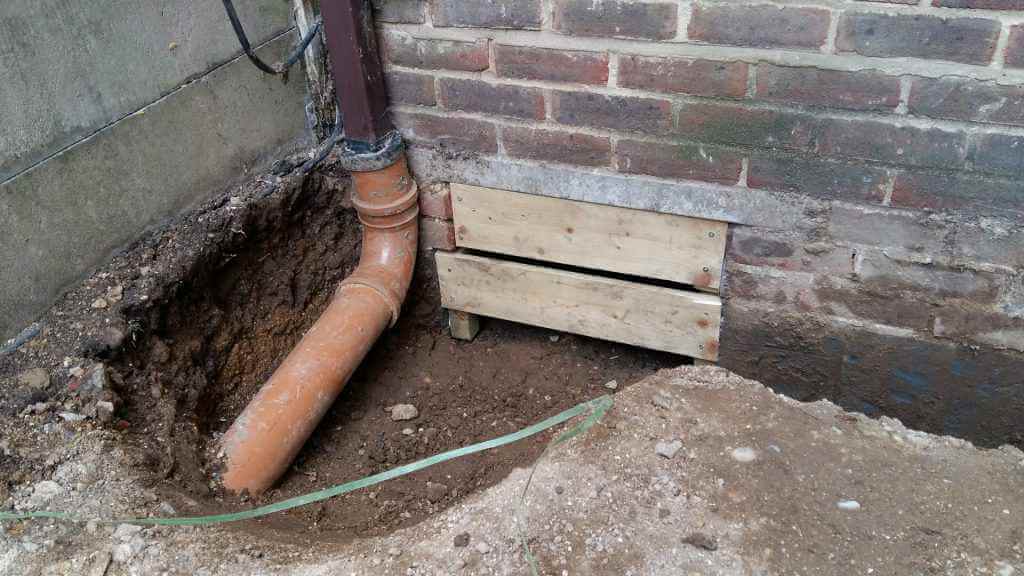
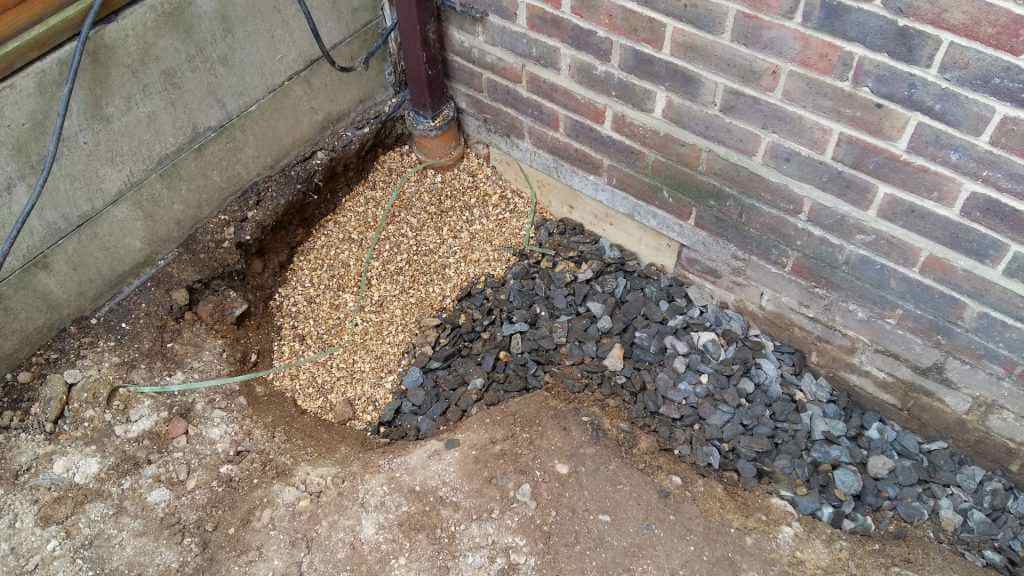
Then, the trench was backfilled with pea shingle, hardcore, and sharp sand.
Once the slabs had been pulled up and removed, the next step was determining how much spoil to remove to get the correct fall on the patio. This was done using a long spirit level and some stakes banged into the ground to mark the level of the top of the slab, which would allow a fall of between 25mm per metre and 25mm per 2 meters.
Then, dig out enough of the ground to enable the required 100mm of type 1, 50mm of mortar, and then the thickness of the slab.
Laying a New Patio, Part 3
Round by the garage and the back door of the property the wall of the garage is built into the bank of the house next door. The gravel boards of the boundary fence also act as a retaining wall holding the earth back. Rainwater runoff from higher up the road runs into the patio area of the house and makes the external walls wet when it rains hard. There is a Damp Proof Course (DPC) that prevents water from penetrating internally.
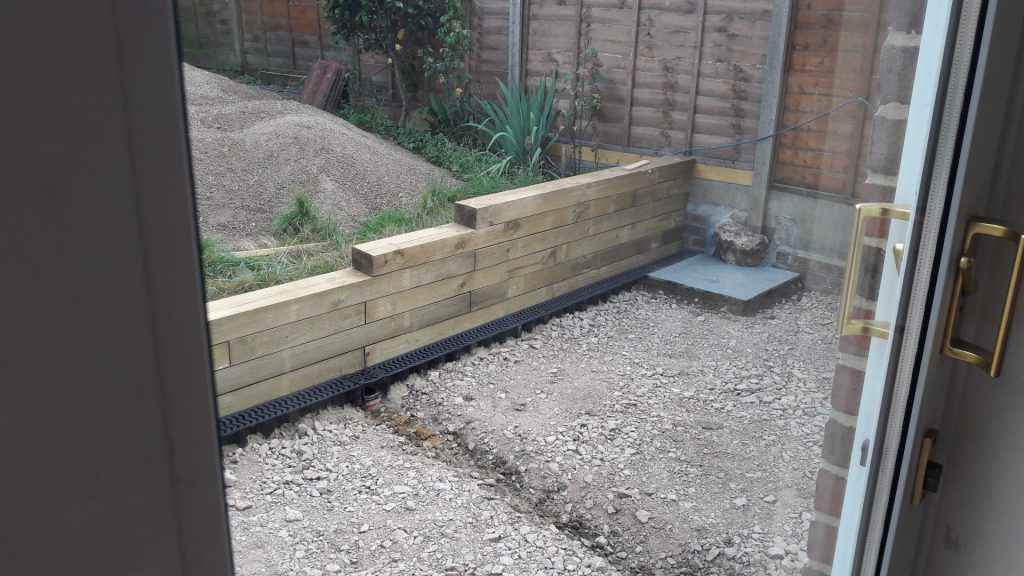
To alleviate the effects of the surface rainwater runoff a channel drain will be installed against the kitchen wall and continued round at the bottom of the patio running parallel with a new retaining wall which will hold back the earth from the garden. The retaining wall is made of new sleepers of lengths 1.2 meters and 1.8 meters and widths 100mm x 150mm. A narrow trench was dug and filled with type 1 with a sand and cement base that the first lot of sleepers were laid on with haunching (cement support) applied to the back of the sleeper wall once the wall was finished.
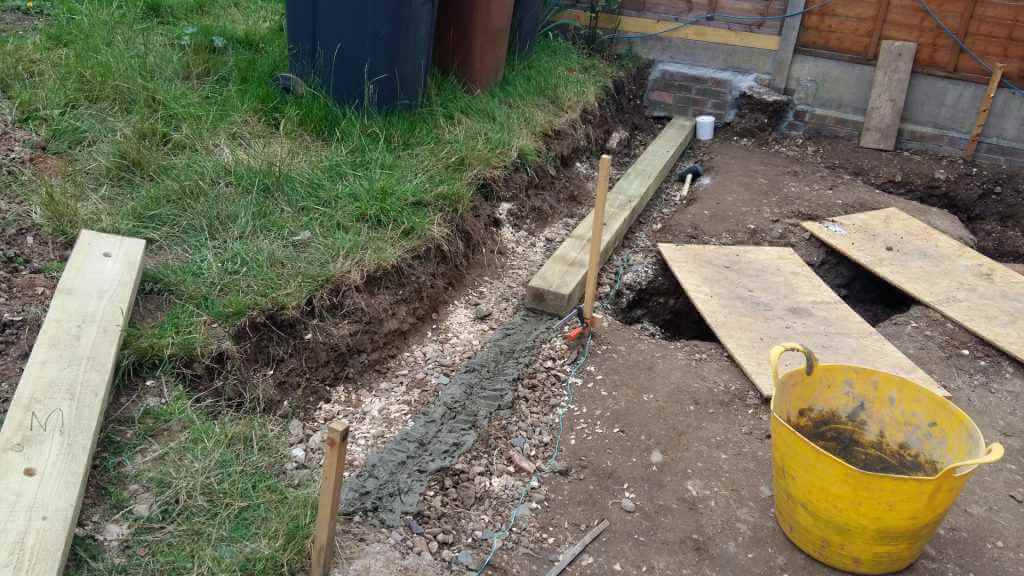
The sleepers were staggered to match the height of the earth that would be retained behind the wall. They were cut and offered up dry to start with to make sure they fitted together properly. Holes were drilled in the sleepers to accept 1.2 meters long 20mm steel rods which were passed through the sleepers and hammered into the ground with 2 part polyester resin being used to glue the rods inside the sleepers. The sleepers were also glued in place with a quick setting Silyl Modified Polymer glue.
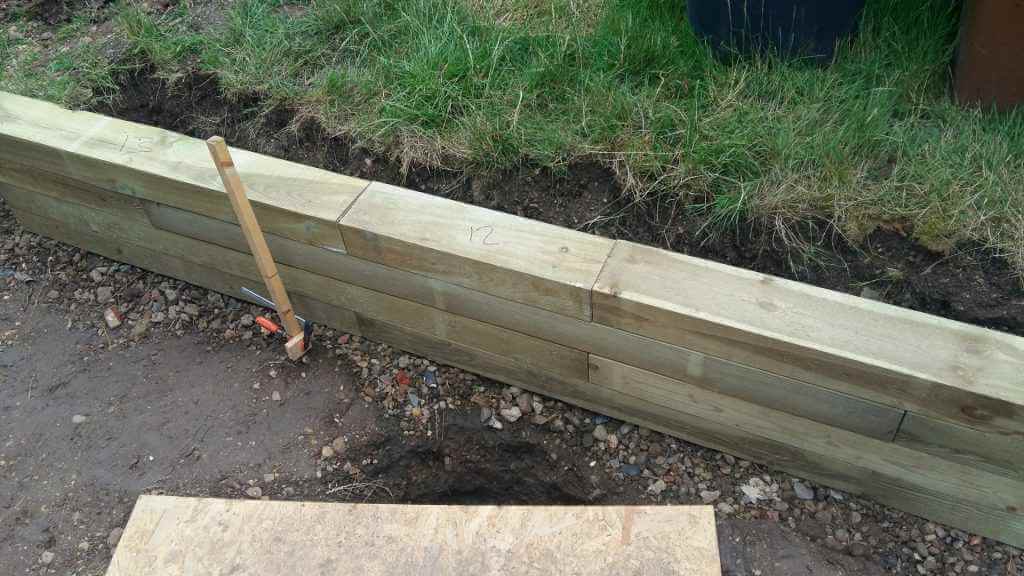
Once the wall was complete it was left for 24 hours to allow the adhesives to set properly.
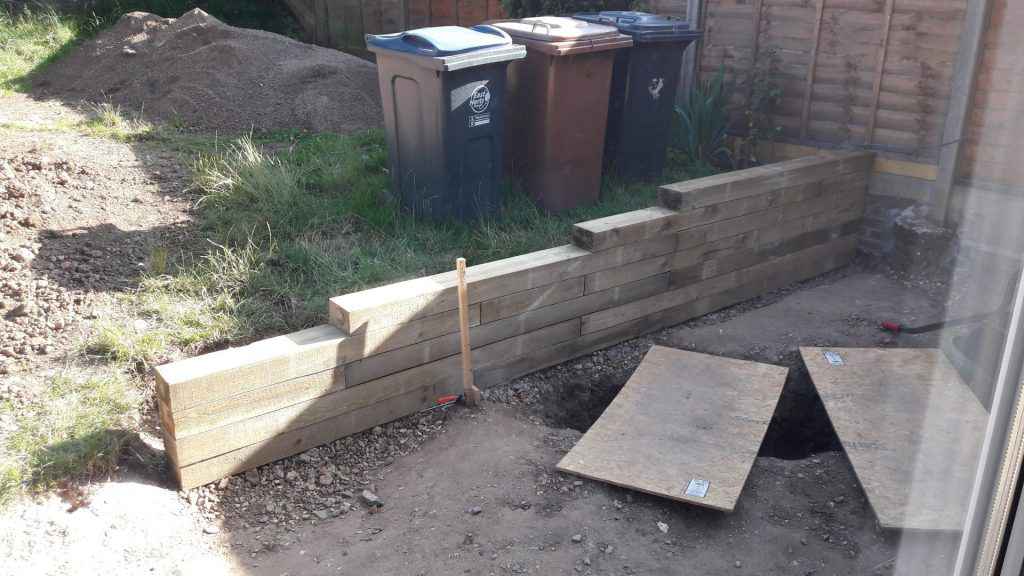
Rainwater coming off the garage roof is carried away by a gutter into a downpipe. To trace where the water was draining, an inspection pit was dug following the line of the downpipe from the gutter.
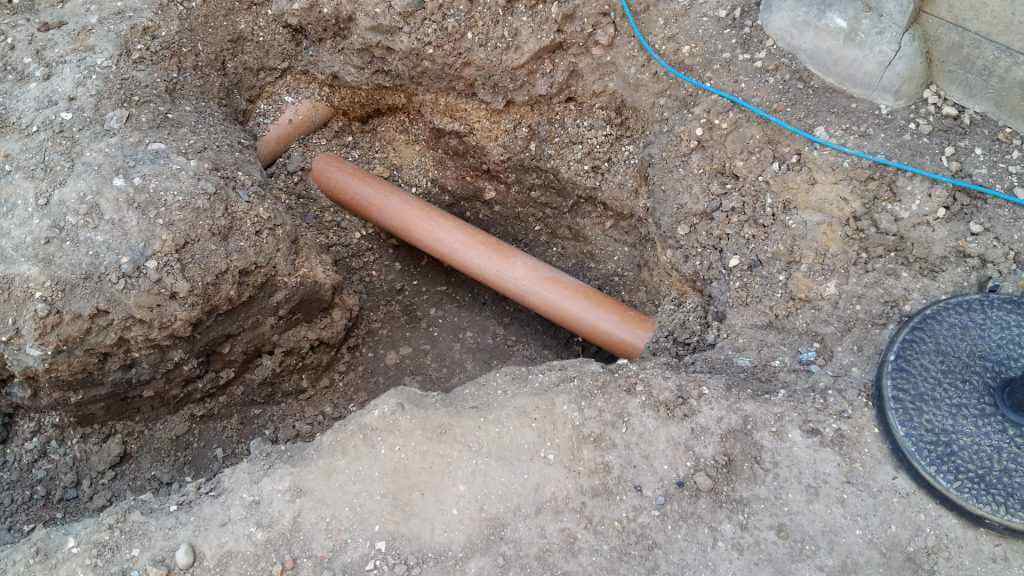
The downpipe exited into a 110mm 90 degrees bend by means of a flexible reducer pushed over the PVC pipe. The inspection pit revealed that the pipe went under the shared services foul water drainage pipe and continued into a soakaway. A trench was dug to run the pipe which would be teed off and run-up to the channel drain.
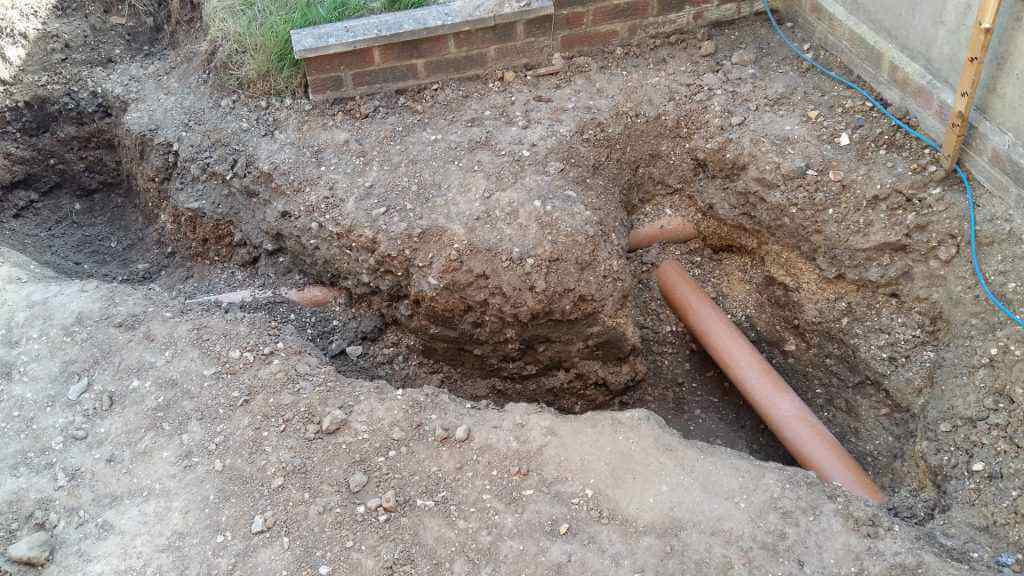
In order to carry away the water from the new channel drain, it was proposed that the rainwater drainage pipe for the garage roof gutter would have a tee placed into it and a new trench would be dug for a pipe to be laid and run up to a P trap. The use of a P trap was just to stop any possible gases coming up from the soakaway and exiting into the atmosphere at ground level through the channel drain. The P trap has a downpipe that joins the bottom of the corner joint of the channel drain. Here the pipe is cut to accept the slip coupling and double socket branch.
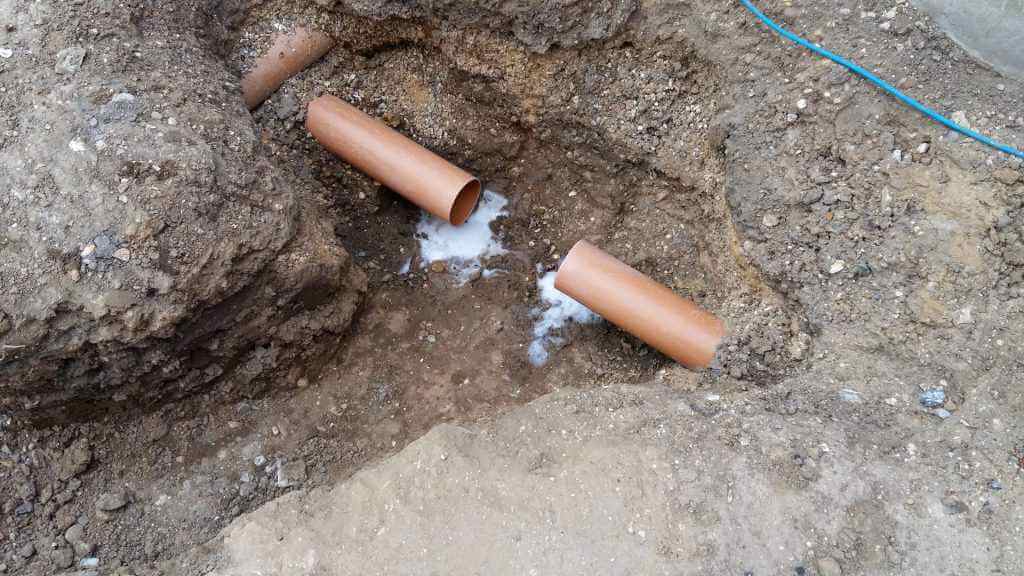
Then, the slip coupling is inserted with pipe lubricant …
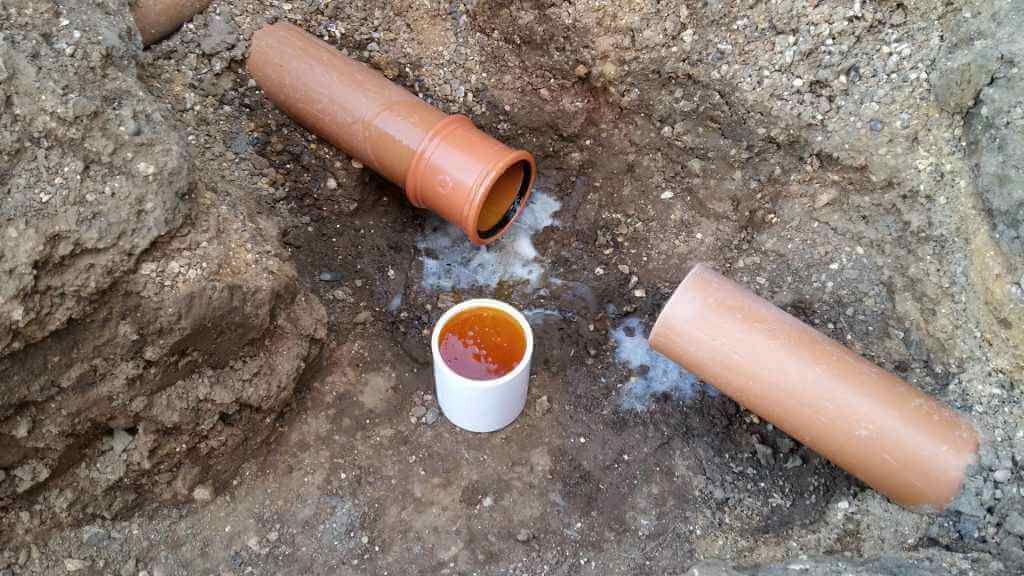
… and the double socket branch is inserted into the pipe.
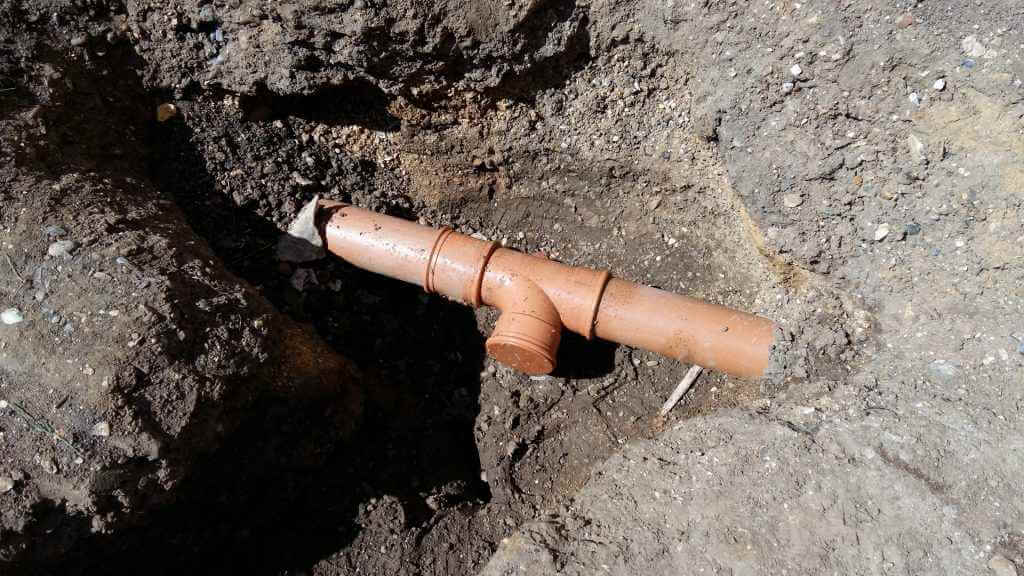
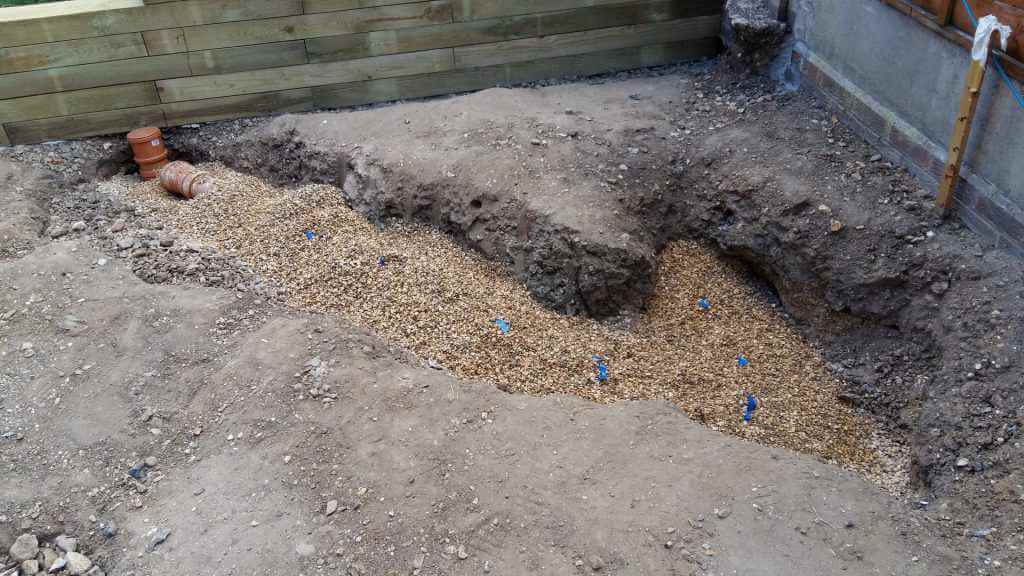
Then a piece of straight pipe was inserted into the double socket outlet and a 90-degree adjustable double socket bend was inserted into that which allowed a long piece of pipe to be the run-up to a 15-degree bend and into the P trap. The P trap was placed on type 1 and then a piece of broken patio slab to give a firm base. Once the P trap outlet was judged to be in the correct place to accept the channel drain outlet 10mm pea shingle gravel was shoveled into the trench to backfill the space around the pipes.
Laying a New Patio, Part 4
With most of the below-ground works finished, it’s time to start building the ground back up.
A green led laser level (more easily seen in daylight) was used to mark the highest point of the patio Then allowed for other factors like depth of service pipes below ground, the slope of the lawn, and distance of the slabs below the damp proof course (DPC) an amount of overall fall was calculated and then marked at the opposite end of the patio. In this case, a fall of 40mm over 6 meters was achieved which is a little under the desirable gradient of 1 in 80.
Stakes were banged into the ground and string run between them to mark the top of the slabs from front to back. Allowing for the thickness of the slab, 40mm for the cement base, and 80mm for the MoT type 1 sub base another string was run at the subbase level to show where the type 1 needed to be filled up to or ground shaved off to allow for the 80mm of type 1.
The ground was prepared with a pickaxe and shovel to make it the right level for the Mot type 1. Excess spoil removed in the process was sieved through an automatic rotary soil sieve to create a pile of topsoil and another pile of stones which would be used as the first layer below the type 1 subbase. Any difficult areas of the old concrete patio base were broken up with a hex shank electric breaker using a wide flat chisel.
Once the ground was prepared the stones extracted from sieving the spoil were spread over the proposed patio area as far as they would go and then compacted using a petrol compactor plate (wacker plate). Then the rest of the required thickness was made up by the MoT type 1 and compacted using the plate.
The next step was to set the channel drain. This was installed 3mm below where the top of the patio slab would finish and laid in a bed of 4 to 1 sand and cement. End caps were put on at the highest ends using PVC pipe weld cement and the lengths were cut to clip into the 4-way corner unit which joins into the top of the soakaway pipe via the P trap through a double socket coupler joined to a piece of pipe. A gap of 10mm was left between the channel drain and the wall to allow gun injected patio mortar to be applied once the patio had been laid.
Now it was time to lay the first patio slab. The first slab required a cut to make it fit around the base of the concrete fence post. The cut was made with the combination of an angle grinder and an electric tile cutter using wet-cut diamond blades.
The electric tile cutter has a tray that you fill with water that the blade runs through to aid dust suppression. A facemask, face guard, protective goggles, and ear defenders were used to protect the operators. Water was dribbled onto the slab while the slab was being cut to help the dust suppression process even more.
Laying a New Patio, Part 5
With the ground levelled, falls going the right way around the property, and the MoT type 1 spread over and compacted with a petrol plate, slab laying is now well underway.

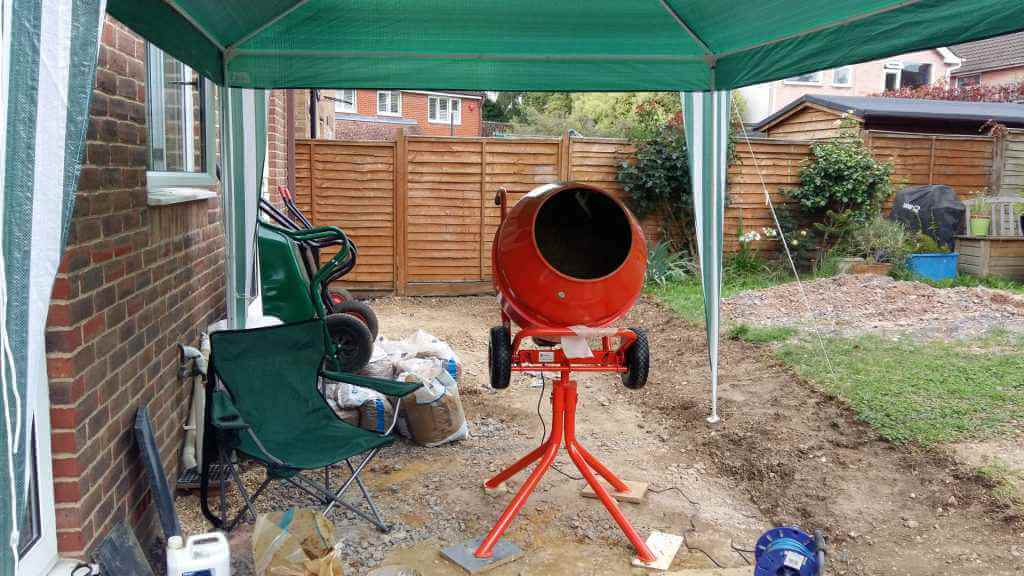
The cement was mixed with a 4 to 1 sand to cement ratio, and some plasticizer was added to aid workability. The whole mix was made up in an electric cement mixer.
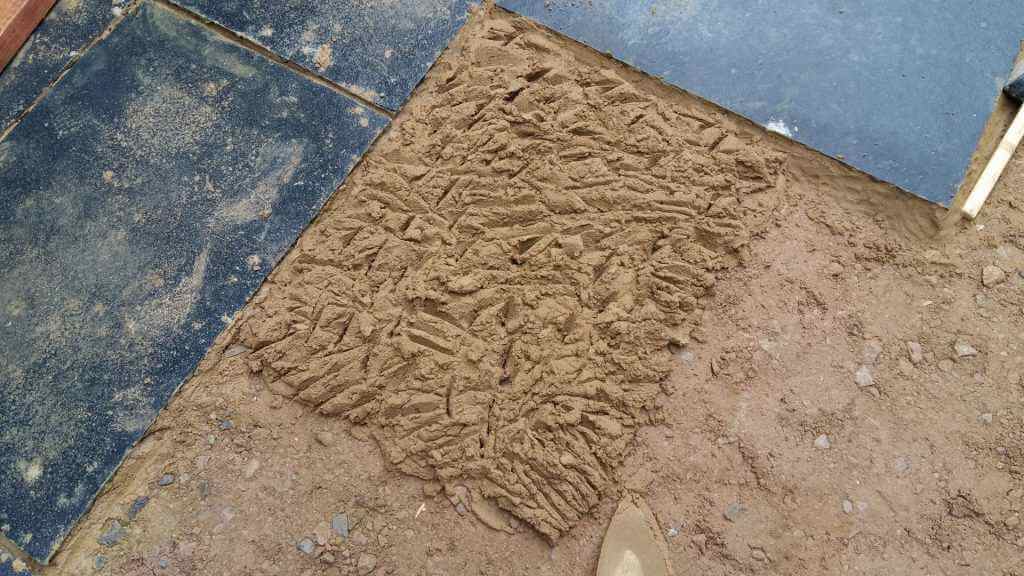
When laying the slabs, the mortar bed was built up a couple of centimetres above the height needed to allow for the slab to be levelled once put in place.
The slabs were set a few millimetres above the edge of the channel drain, and because they had a waney edge, they were set back at least 10 millimetres from the drain itself.
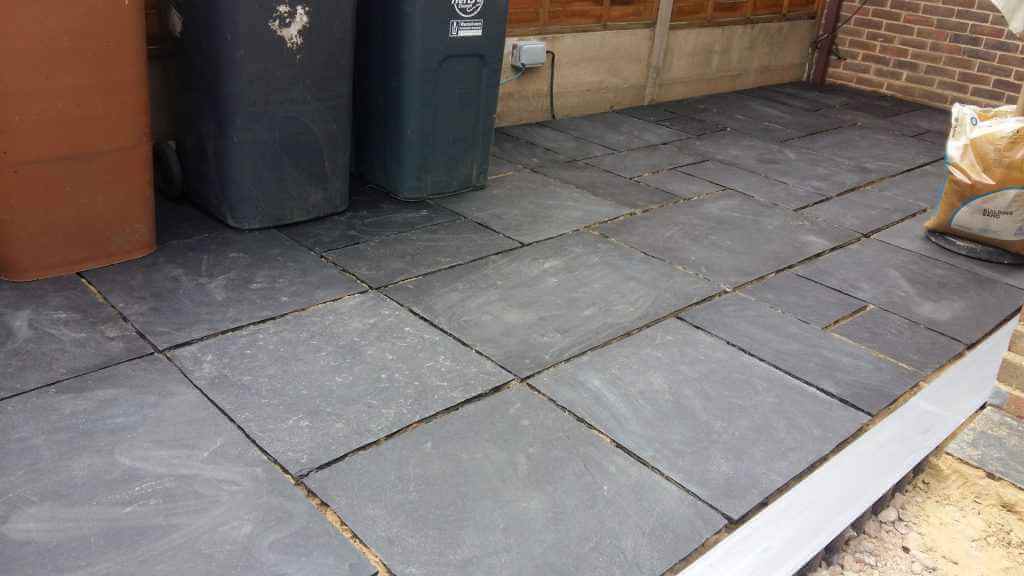
A rubber mallet was used to tap the slabs down to level them and a spirit level was used to make sure the slab was level with the surrounding slabs and also that the fall on the slab was going in the right direction. The cement was checked to ensure no voids were under the slab.
On the smaller slabs, to borrow a phrase from the tiling world, the slabs were “back buttered” with styrene-butadiene copolymer, or SBR for short, to aid adhesion and stop them from popping up when trodden on, although the grouting process will mitigate this.

Once the slabs were laid, they were allowed to set for a couple of days. It was time to start the grouting process. The channel drains were taped up to protect them from the grouting process. A runnable cement mortar grout mix was being used. The mortar has structural properties that will give the overall patio strength once all the bedding mortar and grout have been set fully after a few weeks. The mortar was mixed with the right amount of water in a bucket using a mixing paddle.
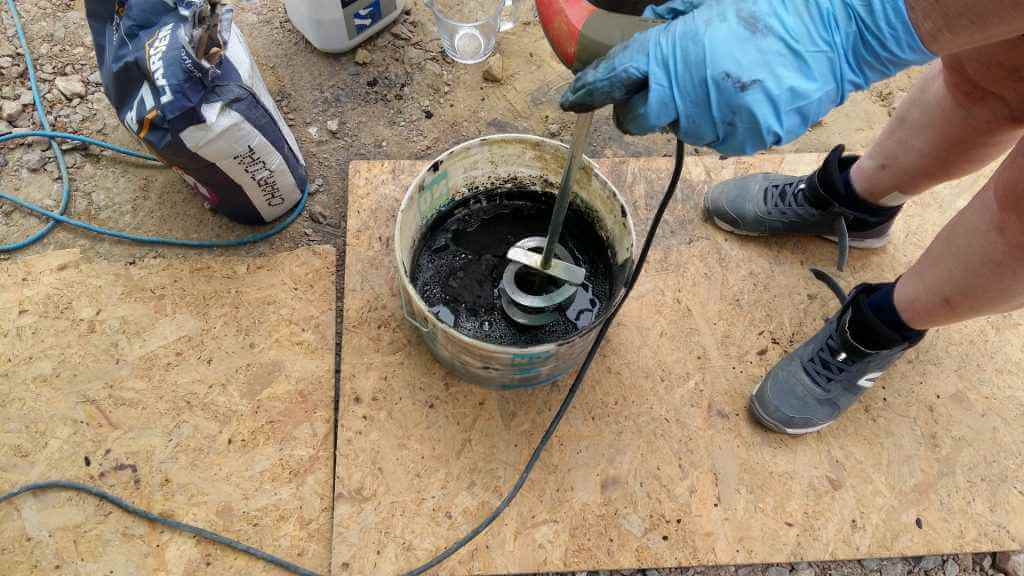
Once the grout mortar had been mixed properly, it was placed into the mortar gun with a grout mortar piping bag, which had had the nozzle cut off to allow the mixture to flow more easily. The mortar grout mixture, in this case, is fairly runny anyway and flows easily.
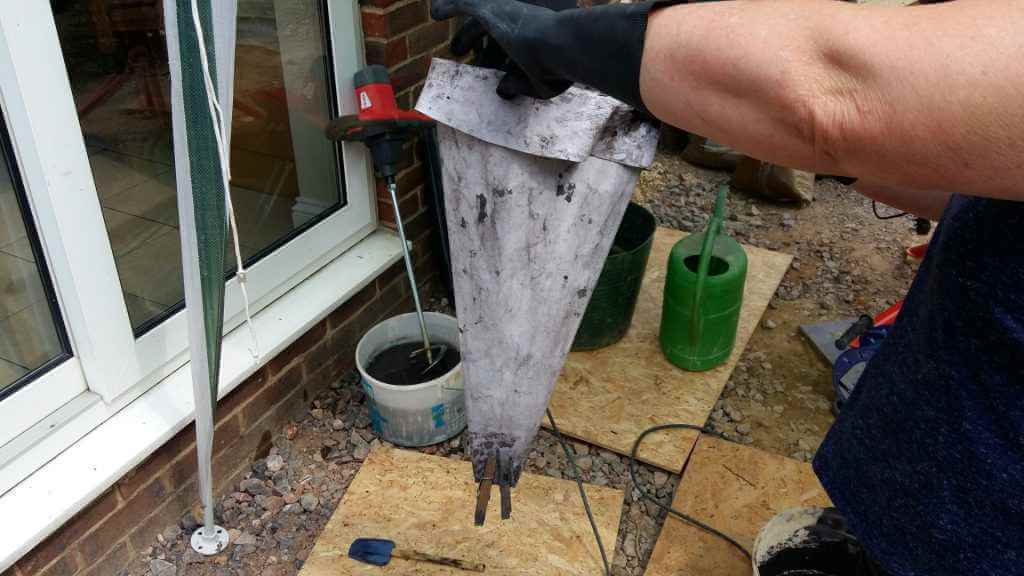
The grout was applied to the slab joints after well-watering them and mopping up any standing water. The grout was allowed to sit for a couple of minutes before being struck off with a grout strike. A sponge was used to wipe off the excess from the top of the slabs, being careful not to rake out the grout from the joint.
Laying a New Patio, Part 6
One thing you don’t want when you’ve just grouted your patio is to have torrential rain in the next 24 hours, which is precisely what we have.
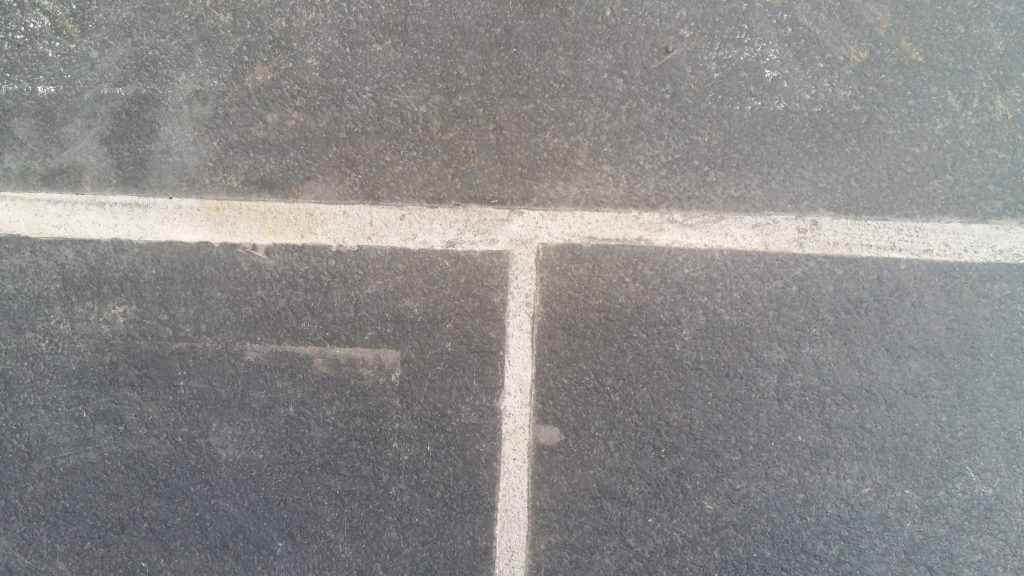
The grout had time to harden to a reasonable state, but the excessive rain did cause what is known as effervescence, where the salts bubble up to the surface and cause white staining on the grout. The grout is supposed to be a charcoal grey colour. We will have to let the grout harden fully for a few weeks and then deal with the discolouration by applying an acid effervescence cleaner to correct the problem.
Where the ground level had been graded and lowered below the concrete surrounding the fence posts, this was structurally improved using bricks and cement render, which was made up of three parts sharp sand to one part cement and some SBR to aid the mixture’s sticking to the concrete.
That is, the patio at the side of the house was pretty much complete except for finishing, and now it was time to move on to the patio around the back of the house.
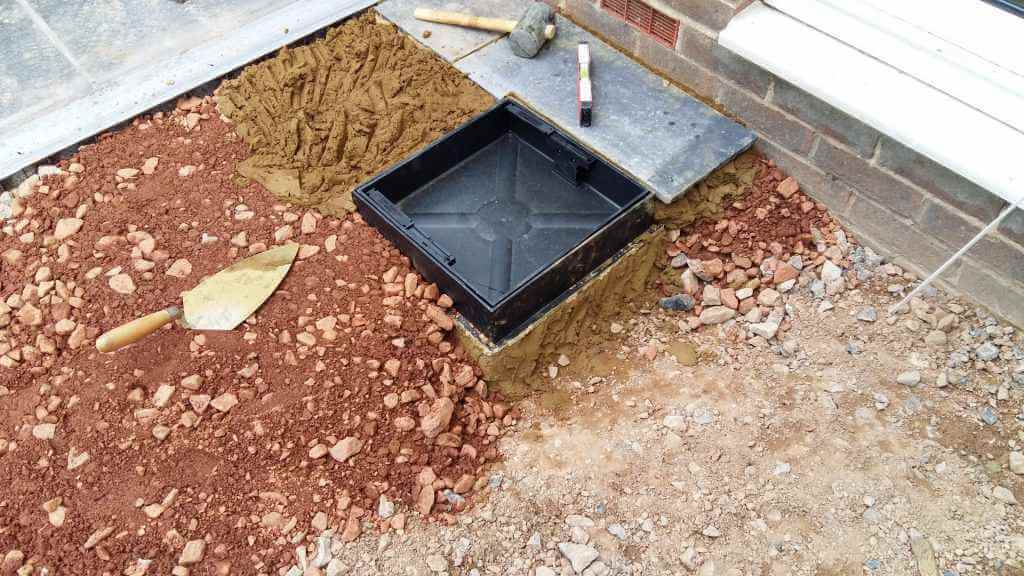
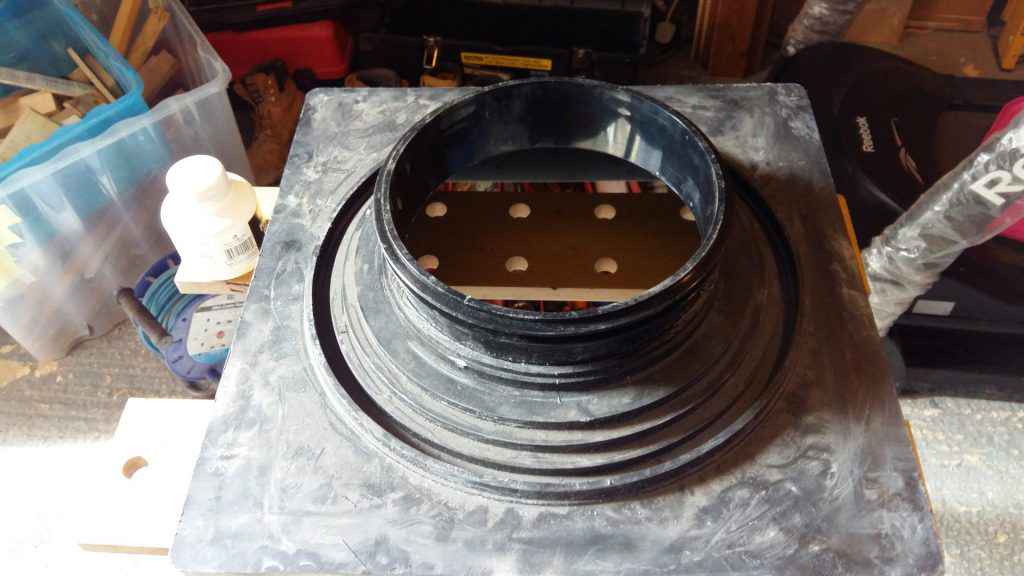
The first job was to sort the frame that fits onto the foul sewer inspection chamber. This frame will have a slab insert to minimize the visual impact of the inspection chamber access cover. In this instance, the inspection chamber is an Osma Drain 4D960, and the frame being used is a Clark Drain Recessed cover.
The spigot on the Clark Drain allows for different internal diameters of the inspection chamber. Still, it does not offer much adjustment up and down, so the spigot from the old Osma Drain frame cover 4D961 was cut off, and the first ring of the spigot from the Clark Drain was also sawn off. This allowed the spigot from the Osma Drain to fit inside the Clark Drain spigot and to be glued using PVC pipe weld adhesive, giving a firm and airtight seal and allowing some vertical adjustment when setting the frame in place.
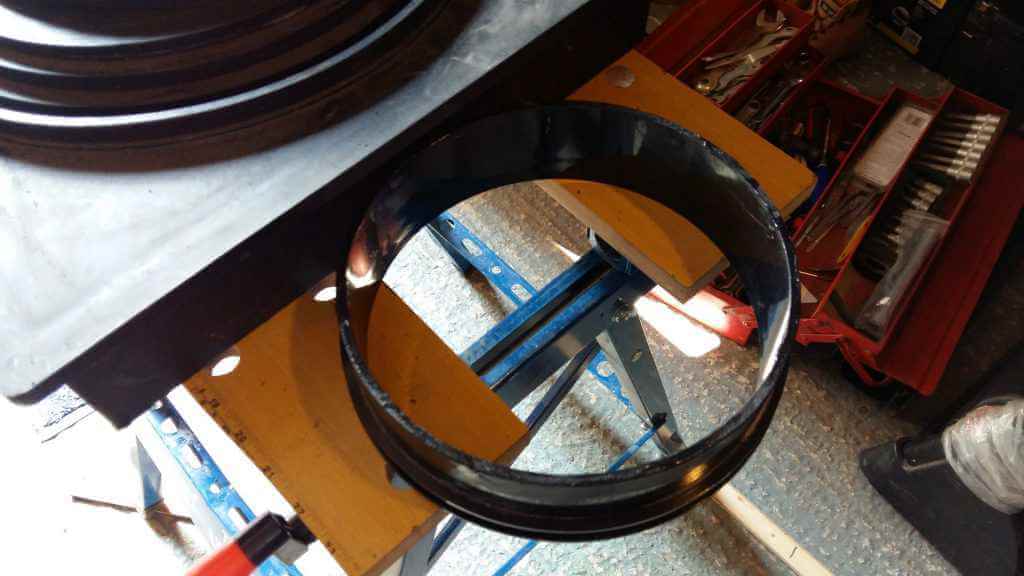
Next, the riser for the inspection chamber needed to be cut down to allow for the height of the cover frame. The riser was marked round with tape to the correct height and then cut with an oscillating multitool. The burrs were cleaned up with a coarse emery cloth.
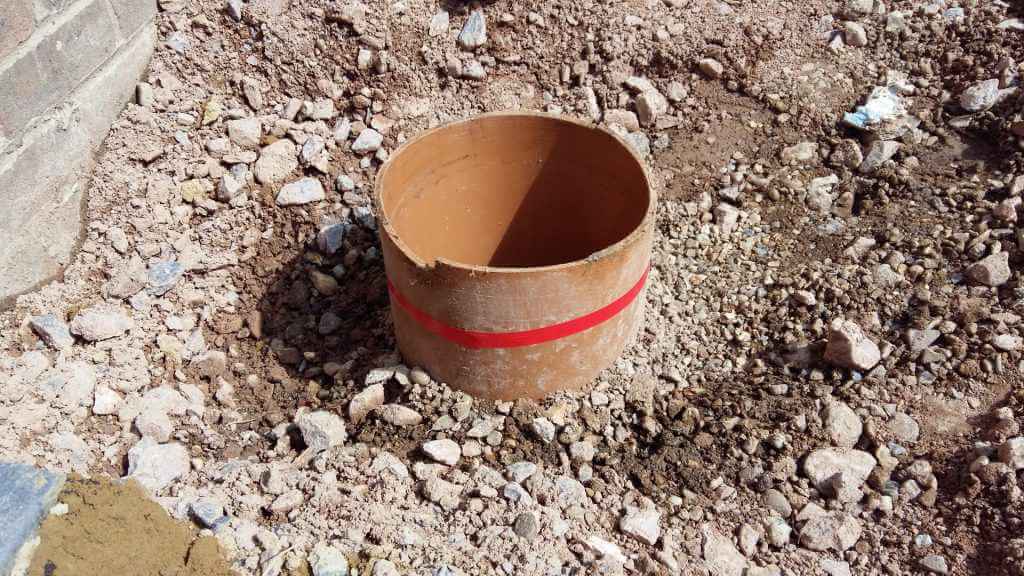
The height around the riser was built up with type 1 and tamped down, the mortar was trowelled around the riser, and the frameset was placed to the correct height of the surrounding slabs with a slight fall that matched the rest of the patio. The slabs around the frame were cut using an electric tile cutter with a water tray for the blade to suppress dust.
Also, water was dribbled onto the slab while it was being cut. The operators wore face guards, masks and ear defenders. Type 1 was added around the frame and tamped down; then, the slabs were set in place.
