Replacing a Honeywell Heating Controller With a tado Smart Controller
While the kitchen was being refreshed, the heating controls got swapped too. The old Honeywell digital controller on the kitchen wall was replaced with a tado wireless smart controller. It is a small job, but it is one that gets looked at nervously, so here is what it actually involves.
Before anything else: make sure the power is off at the consumer unit. Not at a switch, at the consumer unit. Then follow the tado instructions carefully — they are good, and they cover the common wiring arrangements.
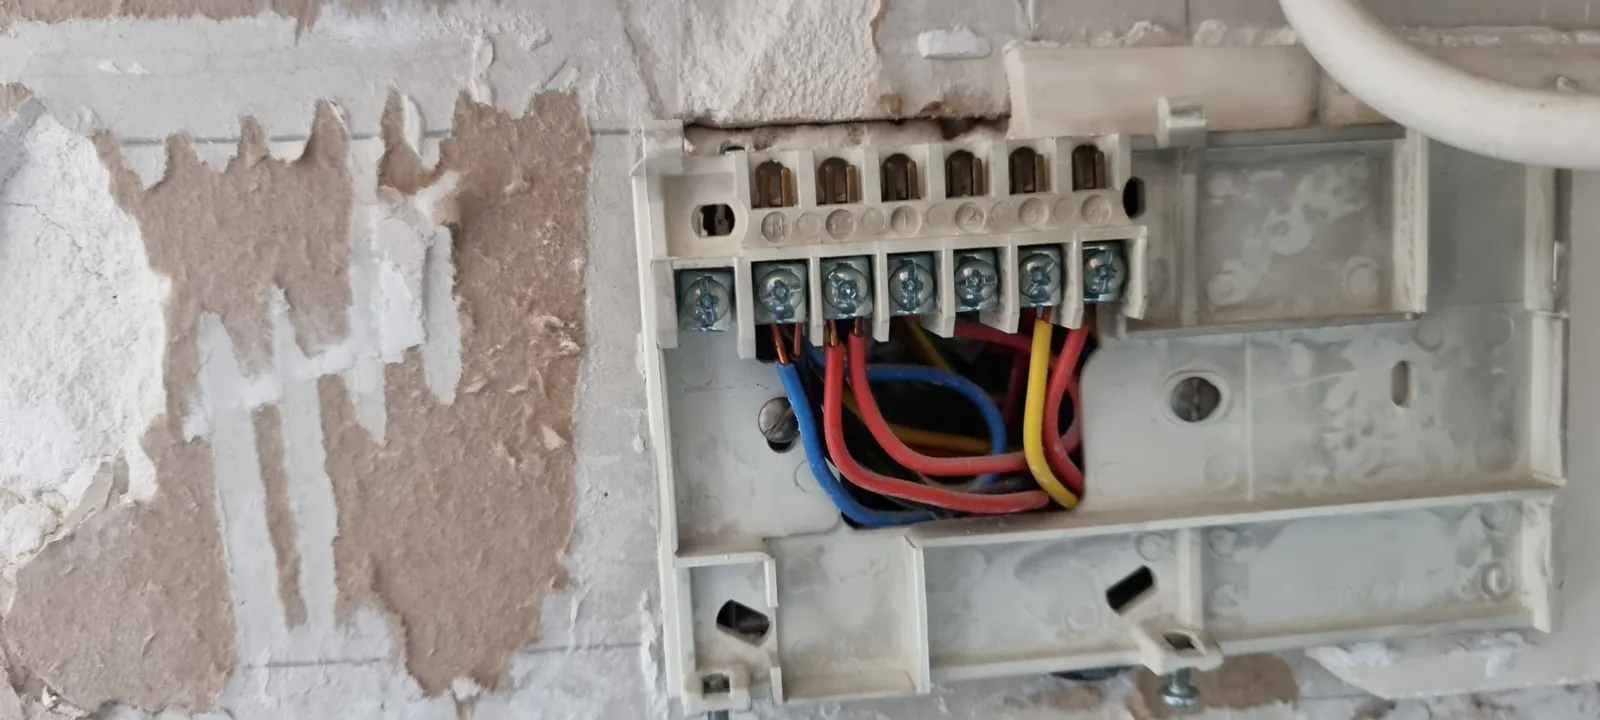
The old controller sits on a backplate with the wiring landed on numbered terminals — N, L, 1, 2, 3 and 4 on this one. What those numbers do varies between systems, which is why the next step matters more than any other.
Label everything first
Label every core before you disconnect a single one. Write down which wire came from which terminal, and photograph it as well. If anything goes wrong later, or the new unit turns out to want a different arrangement, that photograph is the difference between a five minute fix and calling someone out.
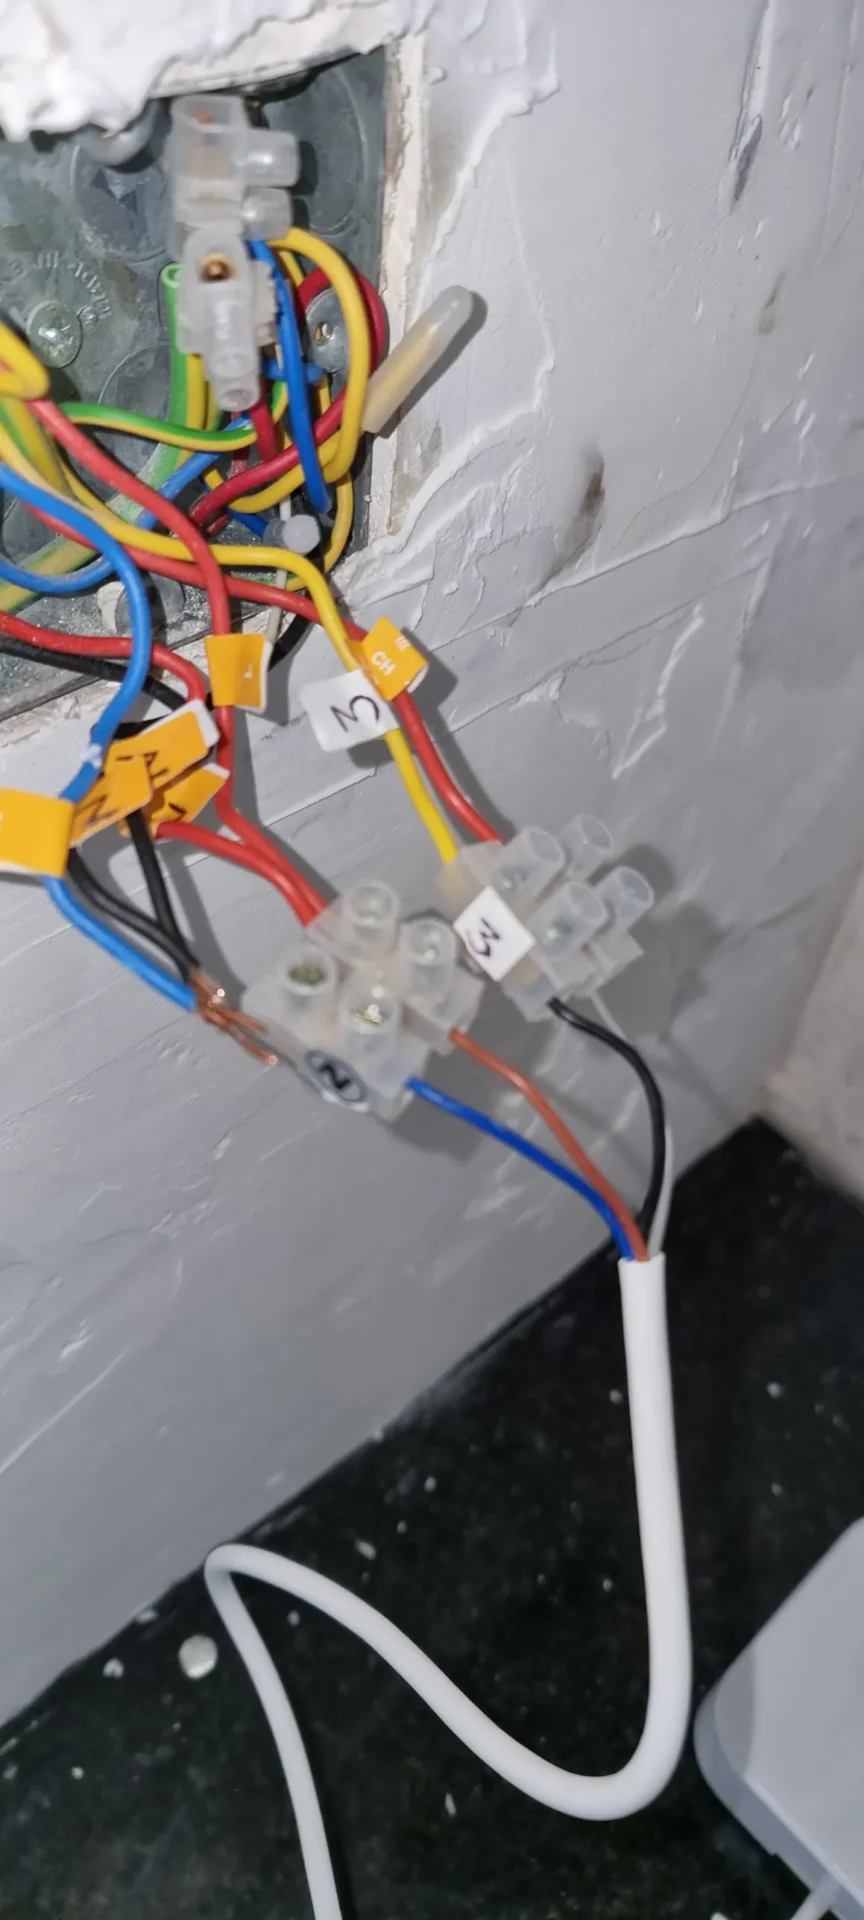
The new receiver
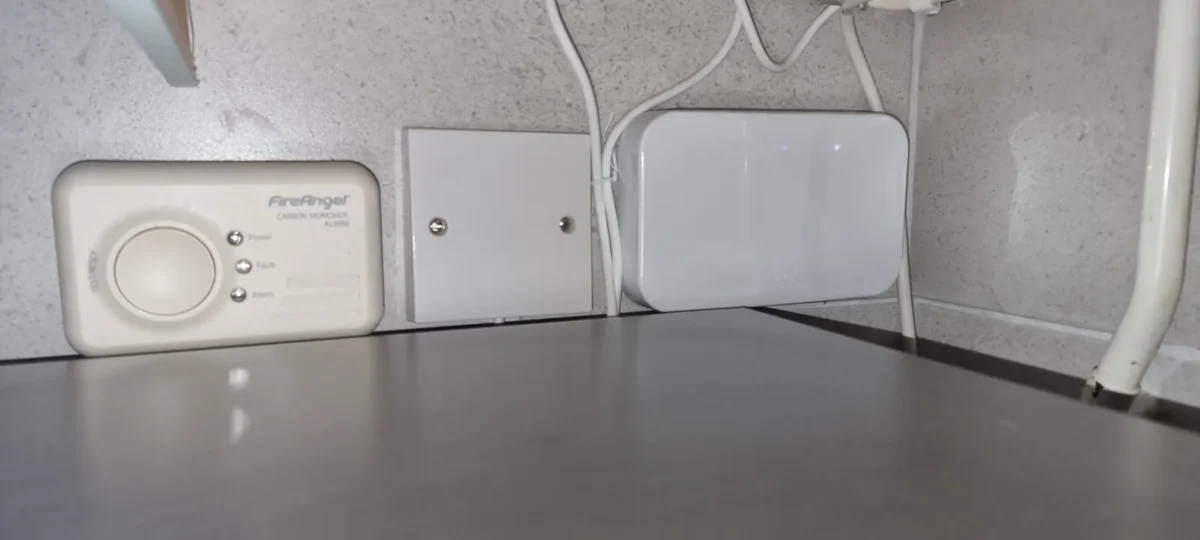
The tado receiver went in, and the position where the old controller used to be was blanked off. With a wireless system the thermostat itself no longer has to live where the old controller lived, which frees up a bit of wall and, in this case, meant the kitchen wall could be tiled cleanly.
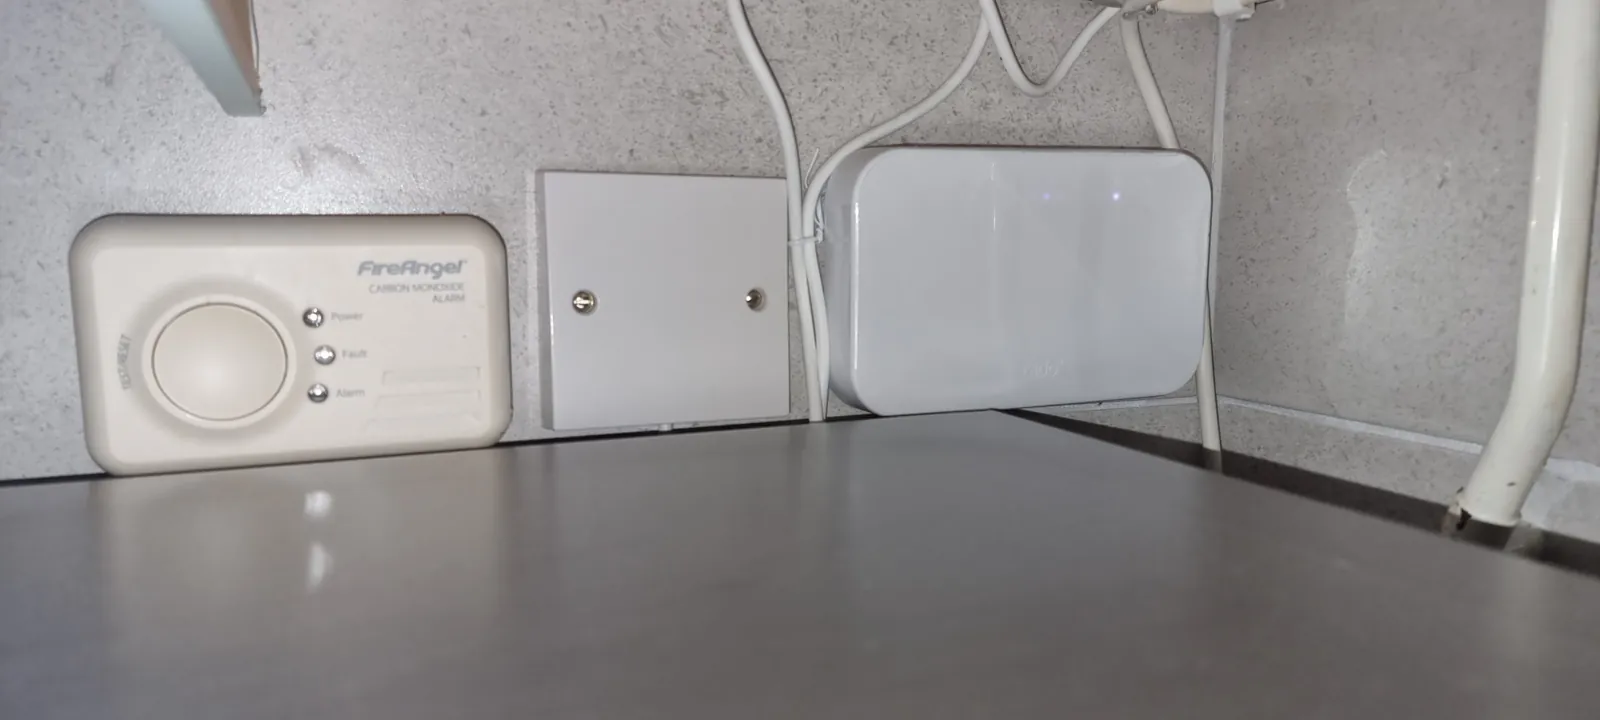
This swap happened while the kitchen it sits in was being refreshed — units repainted rather than replaced, old splashbacks stripped off and retiled, new sinks and taps. Moving to a wireless controller freed up the piece of wall the old one occupied, which meant the tiling could run clean behind it. That project is written up separately: refreshing a dated kitchen without ripping it out.
If you are not confident about which wire does what on your system, or your wiring does not match anything in the instructions, get an electrician or a heating engineer in. It is a cheap call-out compared with the alternatives.